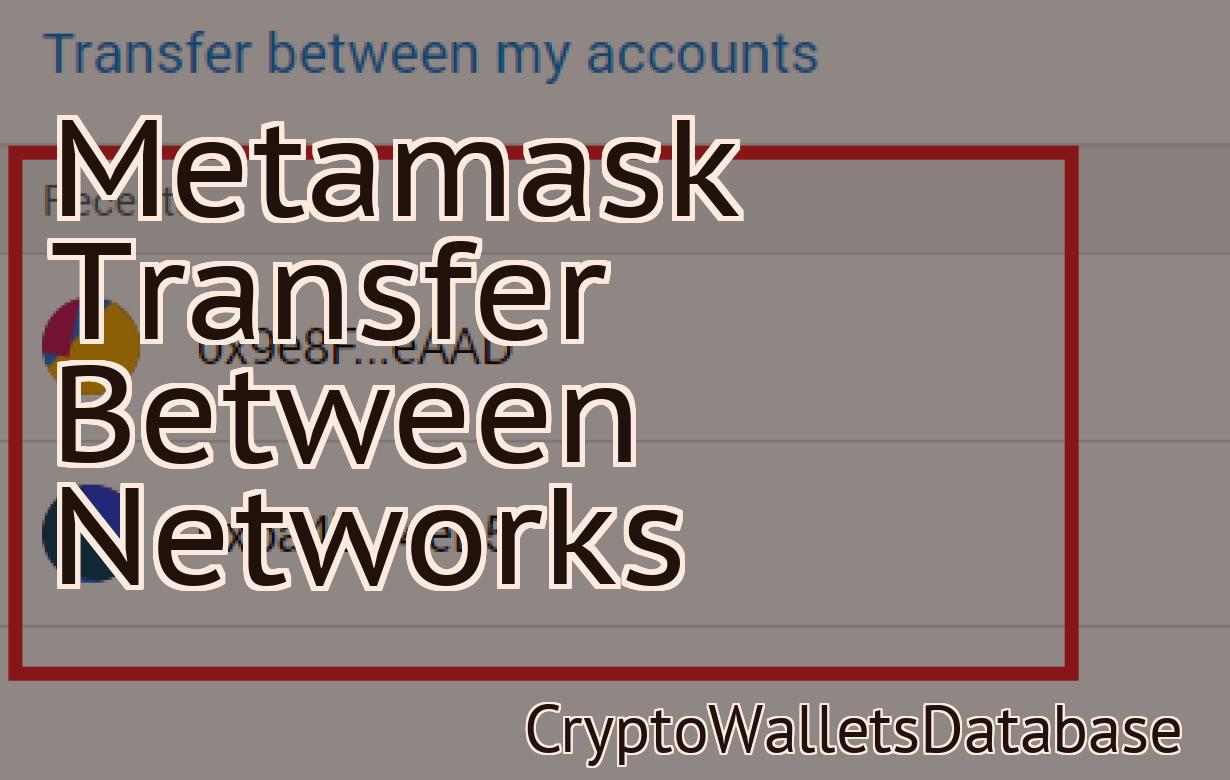
Adding thematic network to Metamask.
Adding a thematic network to Metamask is a great way to keep your transactions and data private. By adding a thematic network, you can choose which blockchain you want to use for your transactions and data. This means that you can keep your information safe and secure, and only share it with the people you trust.
How to add matic network to your metamask wallet
Go to the Metamask Wallet and click on the “Add New Network” button.
Enter the following information and click on the “Connect” button:
Name: matic
Token: MATIC
Port: 443
Once you have connected your metamask wallet to the matic network, you will be able to deposit and withdraw MATIC.
Adding matic network to metamask - a step by step guide
1. Head to Metamask and sign in.
2. Click on the Settings cog in the top-right corner.
3. Under the "Apps & Tokens" heading, click on "Add a New App."
4. Enter matic network into the "Name" field and metamask into the "Type" field.
5. Click on "Create App."
6. You'll be taken to the "App Details" page. Under the "Configure" heading, click on "Configure Matic Network."
7. On the "Configure Matic Network" page, you'll need to provide the following information:
- Address: The address of the Matic Network node you want to connect to.
- Port: The port on which the Matic Network node will be listening for connections.
- Token: The token you obtained from Matic Network when you created your account.
- Auth Augment: If you're using an auth provider other than Metamask (such as Auth0), you'll need to enter the credentials for that provider here.
8. Click on "Save Changes."
9. Your matic network app will now be connected to the Matic Network nodes, and you can start using it to manage transactions and contracts.
How to connect matic network to your metamask wallet
1. Go to metamask.com and create a new wallet.
2. Click on the “Send” button in the upper right corner.
3. In the “To Address” box, type the address of your matic network account.
4. In the “Amount” box, type the amount of Matic Tokens you want to send.
5. In the “Gas Price” box, type the gas price you want to use for the transaction.
6. Click on the “Send” button.
7. After the transaction is complete, you will receive a notification in your metamask wallet.
Matic network - how to add it to your metamask wallet
1. Open your Metamask wallet and click on the "Add New Token" button located in the top right corner.
2. Enter the following information:
Name: Matic Network
Symbol: MAT
Decimals: 18
3. Click on the "Add" button to add Matic Network to your Metamask wallet.
Adding matic network support to metamask
To enable Matic Network support in Metamask, you will first need to install the Metamask extension.
Once the Metamask extension is installed, open the Metamask interface and click on the Extensions tab.
Select the Matic Network extension and click on the Enable button.
You will now need to provide Metamask with a valid Matic Network key. You can find your Matic Network key by following these steps:
Open the Matic Network app and click on the Settings button.
Under the General tab, you will see your Matic Network key.
To use Matic Network with Metamask, you will now need to add a Matic Network provider. To do this, open the Metamask interface and click on the Accounts tab.
Select the account you want to use and click on the Add provider button.
Enter the Matic Network provider ID and click on the Add button.
You will now be able to use Matic Network with Metamask.
How to integrate matic network with metamask
Go to https://metamask.io and create an account.
Click on the “Add a New Account” button and select the “Matic Network” option.
Enter your matic network credentials and click on the “Connect” button.
Now you will be able to send and receive Matic Network transactions.
Connecting matic network to metamask made easy
If you want to use a metamask account to interact with a matic network, the process is pretty easy.
First, connect your metamask account to your matic network account. Then, open the metamask app and click on the "Connect" button in the top left corner. You'll be prompted to enter your matic network's credentials. After that, you'll be able to access all of the features of your matic network account from within the metamask app.
A guide to adding matic network support to metamask
Metamask is a decentralized application that allows users to interact with the Ethereum network. Metamask supports the use of various third-party applications, including matic networks.
To add matic network support to Metamask, follow these steps:
1. Open Metamask and click on the three lines in the top left corner.
2. In the "Add new application" section, click on the "Ethereum" icon and then on the "Matic Network" icon.
3. In the "Matic Network" section, provide the following information:
a. Name: This is the name of the matic network you want to add support for.
b. Description: This is a brief description of the matic network.
c. URI: This is the URI of the matic network's contract address. This can be found on the matic network's website or in the project's documentation.
4. In the "Configure" section, provide the following information:
a. Enable Gas Price Calculation: This checkbox should be checked if you want Metamask to automatically calculate how much gas you need to spend to initiate a transaction on the matic network.
b. Enable Wallet Access: This checkbox should be checked if you want Metamask to allow you to send and receive transactions on the matic network.
5. Click on the "Save" button to save your changes.
How to add matic network to your cryptocurrency wallet
If you already have a cryptocurrency wallet, you can add a matric network by following these steps:
1. Visit the matric network website and create an account.
2. Enter your personal information, such as your name and email address.
3. Choose a password and confirm it.
4. Click on the "Add funds" button to add your desired amount of matric tokens to your account.
5. Click on the "Get tokens" button to view your newly acquired tokens.
Matic network compatibility with metamask wallets
Metamask is a desktop and web browser extension that allows users to interact with the Ethereum network. The extension can be used to send and receive Ethereum, as well as manage and store Ethereum wallets.
Matic is not compatible with metamask wallets.
Enabling matic network on metamask wallets
To enable matic network on metamask wallets, you need to install the Metamask extension. After installation, open the Metamask extension and click on the Settings button. In the Settings page, under the Networks section, click on the Add Network button and select Matic. You can now start sending and receiving Matic tokens on your metamask wallet.
Adding matic network tokens to your metamask wallet
To add Matic Network tokens to your Metamask wallet, first add the Matic Network token contract to your wallet.
Then, open Metamask and click on the “Add Token” button.
Select the Matic Network token contract from the list of contracts and click on the “Add” button.
Your Matic Network tokens will be added to your Metamask wallet and can now be used in accordance with the Metamask wallet interface.