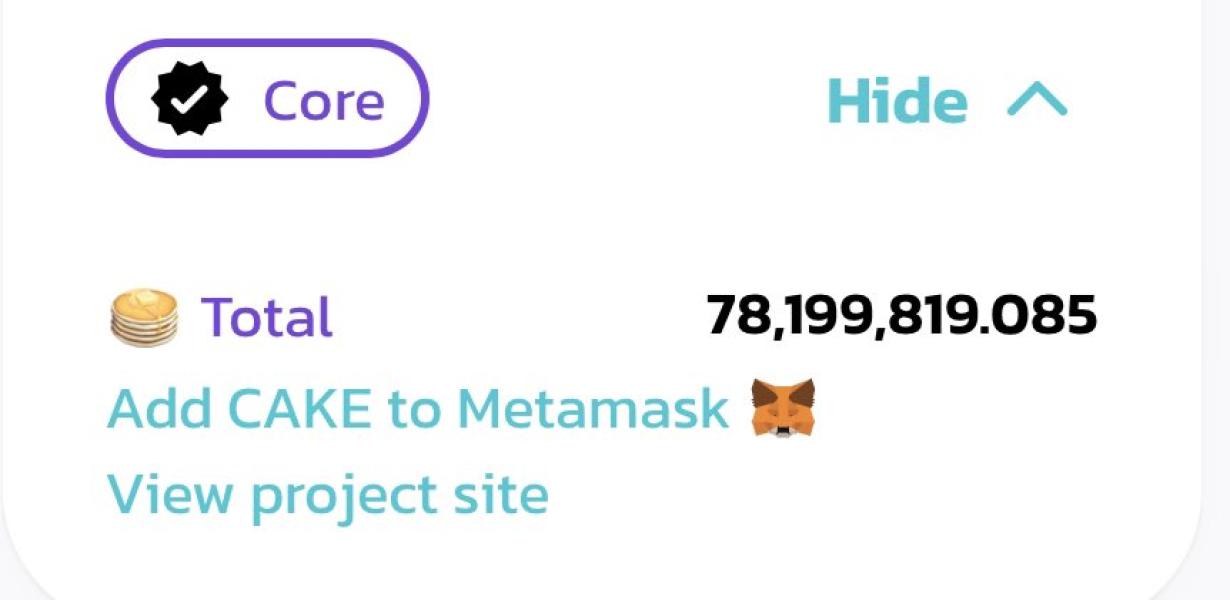
Add cake to Metamask.
In order to add cake to Metamask, you will need to first download the Metamask extension for your browser. Once you have installed the extension, you will need to create a new account or log in to an existing one. After you have logged in, you will be able to access the "Add Token" page. On this page, you will need to enter the contract address for the Cake token. This information can be found on the Cake website or through a blockchain explorer such as Etherscan.io. Once you have entered the contract address, you will be able to select how many tokens you would like to add to your Metamask account. After you have made your selection, you will need to confirm the transaction through Metamask and wait for the transaction to be mined on the Ethereum network.
How to add cake to metamask
1. Click the "Add cake" button in the top right corner of your Metamask wallet
2. Select the cake you want to add from the list of available cakes
3. Click the "Add cake" button again to finish adding the cake to your Metamask wallet
Tips for adding cake to metamask
There are a few things you can do to make adding cake to Metamask easier.
1. Add a cake plugin to your Metamask account. This plugin will allow you to easily add cake tokens to any transaction you make.
2. Use the Metamask search bar to find cake plugins that meet your specific needs.
3. Follow the instructions provided by the cake plugins you choose.
The benefits of adding cake to metamask
There are many benefits of adding cake to your metamask account. Cake provides a secure and private way to interact with the blockchain, and it can help you stay safe while trading. Cake also helps you track your assets and transactions, which can help you make informed decisions about your investments.
Why you should add cake to metamask
Adding cake to your metamask wallet will give you access to a number of different features. For example, cake will allow you to use the wallet for transactions, create and manage accounts, and access other features. Additionally, cake will help to protect your metamask wallet from cyberattacks.
How to make the perfect cake for metamask
There is no one definitive way to make the perfect metamask cake, as different people have different preferences. However, some tips on how to make a perfect metamask cake include using high-quality ingredients, including premium chocolate, and following the recipe to the letter. Additionally, it is important to allow time for the cake to fully cool before frosting or topping it, to ensure that the cake is fully set. Finally, it is important to note that metamask cakes are extremely dense and rich, so only a small portion is typically sufficient.
The ultimate guide to adding cake to metamask
Metamask is a great tool for building dapps, and cake is a great tool for building decentralized applications. In this article, we will go over how to add cake to metamask.
First, you need to install cake. You can do this by going to the following address:
https://github.com/cakephp/cake
Once you have installed cake, you need to create a new project. To do this, open up your metamask wallet and click on the “New Project” button.
On the “New Project” page, you will need to provide some information about your project. First, you will need to provide a name for your project. Next, you will need to select a template. There are three templates available: Node.js, Ethereum, and ERC20. Finally, you will need to select a language. Cake is available in both JavaScript and Ethereum.
Once you have selected your template, language, and project information, click on the “Create Project” button.
Now, you need to add cake to your project. To do this, click on the “Add Component” button and search for “cake”. Once you find cake, click on the “Add” button.
Once you have added cake to your project, you will need to generate a new key pair. To do this, open up your cake project and click on the “Generate Key Pair” button.
On the “Generate Key Pair” page, you will need to provide some information about your key pair. First, you will need to provide a name for your key pair. Next, you will need to provide a password for your key pair. Finally, you will need to provide a public key and private key. You can also provide a description for your key pair.
Once you have provided all of the required information, click on the “Generate Key Pair” button.
Now, you need to add your public key to your metamask wallet. To do this, open up your metamask wallet and click on the “Add Wallet Address” button.
Next, you will need to copy your public key. To do this, click on the “Copy Public Key” button and select the public key that you want to copy.
Finally, you will need to add your private key to your metamask wallet. To do this, open up your metamask wallet and click on the “Add Wallet Address” button.
Next, you will need to add your private key to cake. To do this, open up your cake project and click on the “Add Dependency” button and search for “private_key”. Once you find private_key, click on the “Add” button.
Now, you are ready to start building your cake dapp!
Adding cake to metamask: a step-by-step guide
1. Open the metamask extension.
2. Click on the "add account" button.
3. Enter the following information:
- Name: cake
- Email: [email protected]
4. Click on the "create account" button.
5. Metamask will now send a verification email to [email protected]. Please confirm the email address by clicking on the link in the email and entering the correct information.
6. Click on the "add account" button again.
7. Enter the following information:
- Address: 0x4b4c4d4e4b4d4f4d4c4e4b4d4f4e4b4d4c
- Private key: 0x9c9082a3b2a2b2c2d2e2f2g2h2i2j2k2l2m2n2o2p2q2r2s2t2u2v2w2x2y2z
8. Click on the "create account" button.
9. Metamask will now send a confirmation email to [email protected]. Please confirm the email address by clicking on the link in the email and entering the correct information.
10. Your cake account is now ready to use!
Getting the most out of your cake by adding it to metamask
If you have a metamask account, you can add your cake to it and manage payments and orders from there. This way, you can keep track of your cake's progress, payments, and orders all in one place.
How to add cake to metamask for beginners
You can add cake to your metamask account by following these steps:
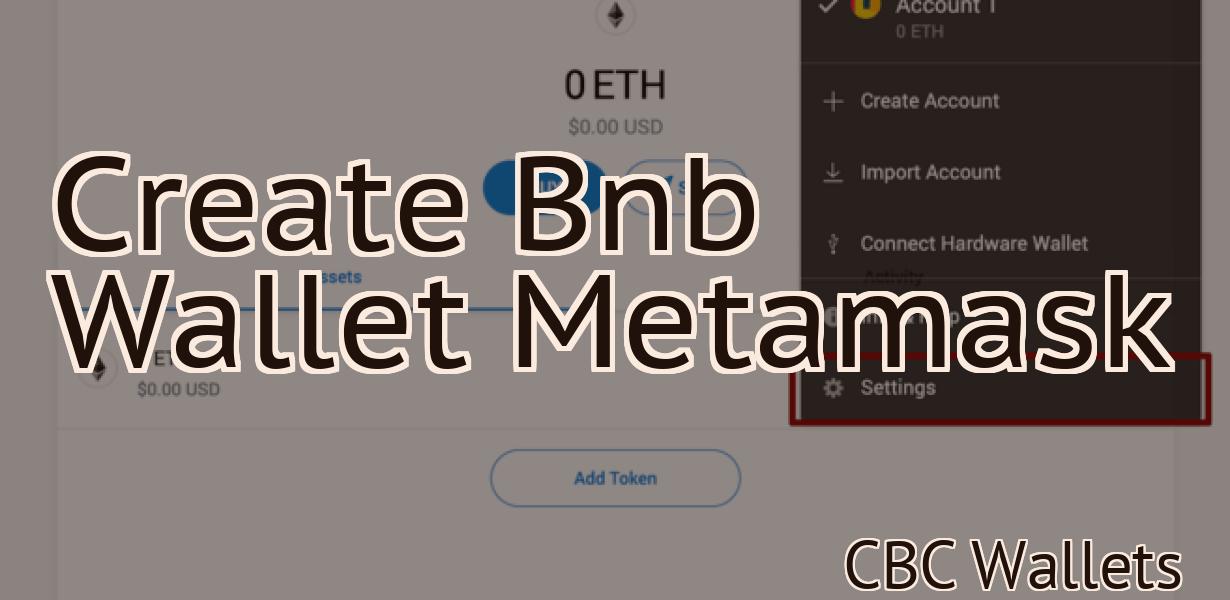
1. Open metamask and click on the "Add a new account" button on the top left corner.
2. On the "Add new account" page, enter your name, email address, and password.
3. Click on the "Create your account" button.
4. On the "Your Metamask Account" page, click on the "Add assets" button.
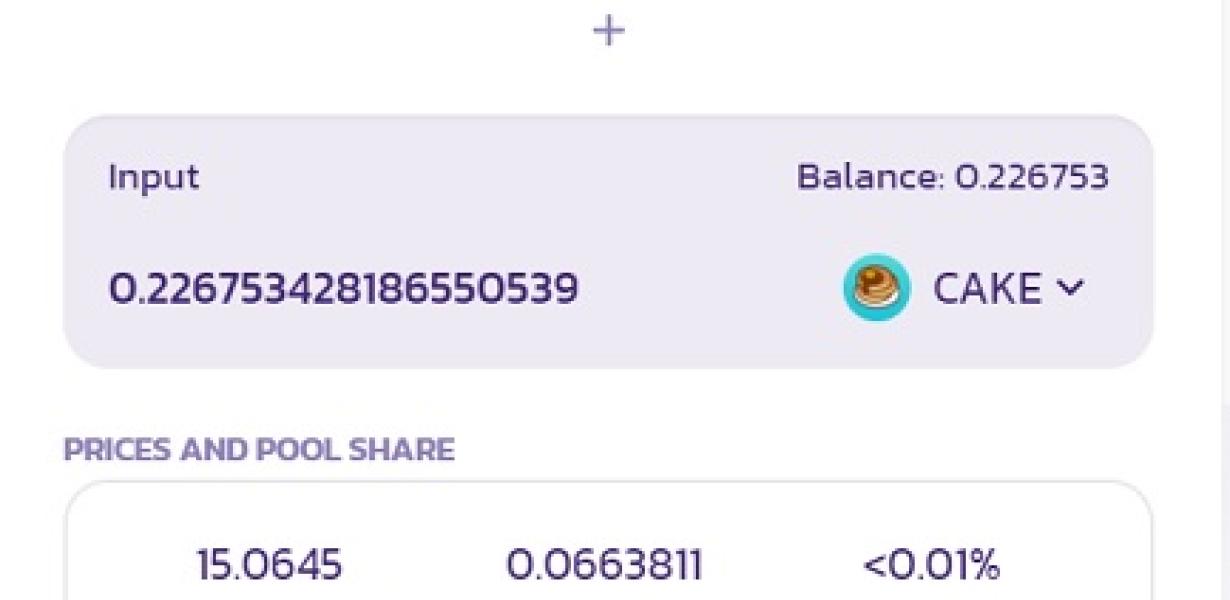
5. On the "Add assets" page, click on the "Cake" button.
6. On the "Add cake" page, enter the amount of cake you want to add to your account and click on the "Add" button.
7. Click on the "Confirm" button to add the cake to your account.
How to add cake to metamask like a pro
1. Open the metamask app and click on the "add items" button in the top right corner
2. On the "add items" screen, click on the "cake" button
3. On the "cake" screen, you will see the following options:
a. Name: This is the name of the cake.
b. Description: This is a brief description of the cake.
c. Image: This is the image of the cake.
d. Price: This is the price of the cake.
e. Quantity: This is the quantity of cake you are buying.
f. Delivery Time: This is the delivery time for the cake.
g. Order Status: This is the order status of the cake.
4. Click on the "add" button to add the cake to your shopping cart.
5. Click on the " checkout " button to complete your purchase of the cake.
The best way to add cake to metamask
There is no one definitive answer to this question. Some people prefer to use an external application, like Node.js or the Metamask extension for browsers. Other people prefer to use Metamask's built-in features.
How to add cake to metamask in under 5 minutes
1. In the Metamask app, click on the "Add custom token" button in the upper right corner.
2. Click on the "Create a new token" button.
3. Enter the following information into the "Token name" field:
Name: cake
4. Click on the "Create" button.
5. You will now see your new cake token in the list of tokens. Click on it to open the token details.
6. In the "Token details" screen, click on the "Configure" button next to the "Accessing" section.
7. In the "Accessing" section, you will need to set a few permissions for your cake token. Click on the "Add" button next to the "Permission" field and select the following permissions:
Access your account: This permission allows your cake token to access your Metamask account.
Send transactions: This permission allows your cake token to send transactions on the Ethereum network.
8. Click on the "Save" button to finish setting up your cake token.
9. Now you can use your cake token to access your Metamask account and send transactions.