How do I set up Metamask on Avalanche?
If you're looking to get started with Avalanche, one of the first things you'll need to do is set up Metamask. In this article, we'll show you how to do just that. Metamask is a digital wallet that allows you to store, send, and receive cryptocurrency. It also allows you to connect to decentralized applications (dApps) built on Ethereum. To get started, head over to the Metamask website and create an account. Once you have an account, you'll be able to add Avalanche to your list of wallets. Once you have Avalanche added to your Metamask wallet, you'll be able to use it to interact with dApps built on the Avalanche network.
How to Set Up Metamask on Avalanche
1. First, download and install Metamask on your computer.
2. Next, open Metamask and click on the "Add Wallet" button.
3. Select the "Avalanche" wallet from the list of wallets that appears and click on the "Install" button.
4. Metamask will now ask you to confirm the installation. Click on the "Yes, install" button to continue.
5. Once the installation is complete, Metamask will display the "Avalanche" wallet address. Copy this address and store it safely for later use.
6. Next, open the "Avalanche" wallet and click on the "Metamask" button to open the Metamask interface.
7. On the Metamask interface, click on the "Import Wallet" button.
8. On the "Import Wallet" screen, paste the "Avalanche" wallet address that you copied earlier into the "Import Address" field and click on the "Import" button.
9. Finally, click on the "Metamask" button in the "Avalanche" wallet to close the Metamask interface and finish setting up Metamask.
Setting Up Metamask on Avalanche
Metamask is a browser extension that allows users to conduct Ethereum transactions. To install Metamask on Avalanche, follow these steps:
1. Open the Chrome browser and enter the following address in the address bar: chrome://extensions/
2. Click on the "Load unpacked extension" button.
3. On the next page, click on the "Install from zip" button and then on the "Metamask" icon.
4. On the next page, click on the "Open" button and then on the "Metamask" icon.
5. Click on the "I understand" button and then on the "Install" button.
6. Metamask will now start to install. When it has finished, click on the "Open" button and then on the "Metamask" icon.
7. Click on the "Configure" button and then on the "Settings" tab.
8. Under "Privacy & Security," click on the "Enable" button to enable Metamask.
9. Under "Contracts & Data," click on the "Enable contracts" button to enable Ethereum transactions.
10. Finally, under "Advanced," click on the "Settings" button and then on the "API Key" tab.
11. Type in your API key and then click on the "Save" button.
Configuring Metamask for Avalanche
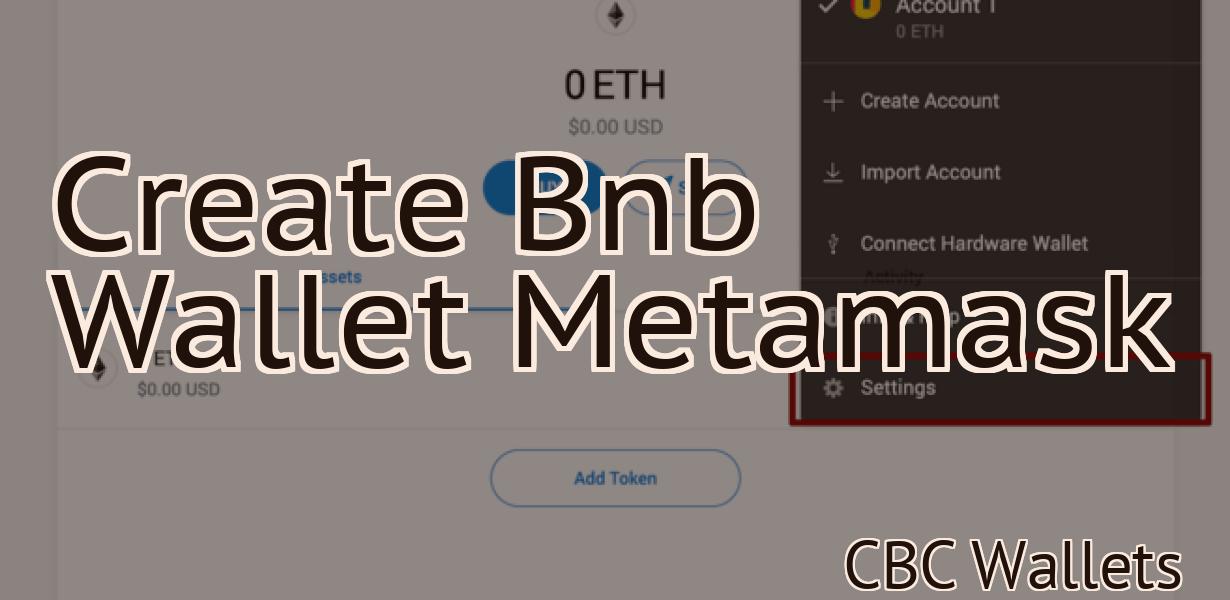
To configure Metamask for Avalanche, open the Metamask main menu and select the "Add Account" button.
From the "Add Account" window, enter the following information:
Name: Avalanche
Email: avalanche@avalanche.co
Password: yourpassword
After filling in the required information, click the "Create Account" button.
You will now be prompted to select a token provider. To use Avalanche's token provider, select "Avalanche" from the list.
Next, click the "Configure" button to open the account's configuration panel.
In the "Configure" panel, you will need to set the following parameters:
Token Address: This is the address where you will receive your Avalanche tokens.
Token Symbol: This is the symbol used to represent your Avalanche tokens.
Access Point: This is the Ethereum address that you will use to access your Avalanche account.
Next, you will need to set your Avalanche account's permissions. To do this, click the "Permissions" tab and select the permissions you want to grant your account.
After setting your permissions, click the "Save" button to save your changes.
Finally, you will need to add an account security key. To do this, open the "Key Management" panel and select the "Add Account Security Key" button.
From the "Add Account Security Key" window, enter the following information:
Name: Avalanche Security Key
Email: avalanche@avalanche.co
Password: yourpassword
After filling in the required information, click the "Create Account Security Key" button.
You will now be prompted to select a token provider. To use Avalanche's token provider, select "Avalanche" from the list.
Next, click the "Configure" button to open the account's configuration panel.
In the "Configure" panel, you will need to set the following parameters:
Token Address: This is the address where you will receive your Avalanche tokens.
Token Symbol: This is the symbol used to represent your Avalanche tokens.
Access Point: This is the Ethereum address that you will use to access your Avalanche account.
Next, you will need to set your Avalanche account's permissions. To do this, click the "Permissions" tab and select the permissions you want to grant your account.
After setting your permissions, click the "Save" button to save your changes.
Creating a Metamask Account for Avalanche
If you don't already have an account on Metamask, create one now. Then, follow these steps to create an account for Avalanche:
Go to https://metamask.io/ and click on the "Create New Account" button. Enter your desired username and password. Click on the "I agree" button. (Note: Your Metamask account will be saved in the "Metamask" directory on your computer.) In the "Configure Your Metamask" section, click on the "Add Account" button. In the "Add account" window, enter the following details:
Avalanche Exchange:
Enter the address of the Avalanche Exchange where you would like to deposit and trade cryptocurrencies. (For example, https://www.avalanchex.com/)
Email Address:
Enter your desired email address where you will receive notifications about your account activity.
Phone Number:
Enter your desired phone number where you will be able to contact customer support.
Country:
Select your desired country. (For example, United States)
Click on the "Create Account" button. (Your Metamask account has now been created!)
Now that you have created your Metamask account, you are ready to start trading cryptocurrencies!
Getting Started with Metamask on Avalanche
Metamask is a decentralized application (Dapp) that allows users to run Ethereum smart contracts and other decentralized applications on their browsers. It is also one of the most popular Dapps on the Ethereum network.
To get started with Metamask, you first need to create an account on the Metamask website. After you have created your account, you will need to install the Metamask extension on your browser. Once you have installed the Metamask extension, you will need to open it and click on the "Add Account" button. From there, you will need to enter your email address and password. Next, you will need to click on the "Create New Ethereum Wallet" button. After you have created your Ethereum wallet, you will need to copy the public key that is displayed on the "Create New Ethereum Wallet" page. You will also need to copy the private key that is displayed on the "Create New Ethereum Wallet" page.
After you have copied the public and private keys, you will need to open the Metamask extension and click on the "Contracts" tab. From there, you will need to click on the "Open…" button next to the "Ethereum Contract" that you want to use. After you have opened the Ethereum contract, you will need to copy the address that is displayed on the "Ethereum Contract" page. You will also need to copy the transaction hash that is displayed on the "Ethereum Contract" page. You can then send the Ethereum tokens that you want to use with the contract using your personal wallets.

How to Use Metamask on Avalanche
1. Open Metamask and click on the "Add Wallet" button.
2. In the "Add Wallet" window, click on the "Metamask" button.
3. In the "Metamask" window, click on the "Add Token" button.
4. In the "Add Token" window, enter the following information:
a. Name of the token: Avalanche
b. Symbol of the token: AVL
c. Decimals of the token: 18
5. Click on the "Add Token" button.
6. Metamask will now generate a new wallet address and a token contract address. Make a note of both of these addresses.
7. Click on the "Connect" button to open the Avalanche wallet.
8. Enter your Metamask wallet address and your token contract address in the "Send" and "Receive" fields, respectively. Click on the "Send" button to send your tokens.
Importing an Existing Metamask Account to Avalanche
If you already have a Metamask account and would like to import it to Avalanche, follow these steps:
1. Log in to your Metamask account.
2. Click on the "Import Account" button in the top-right corner of the screen.
3. Enter your Metamask account password in the "Enter your Metamask account password" field, and click on the "Import Account" button.
4. Your imported account will be displayed in the "My Accounts" section of the Avalanche interface.
Troubleshooting Metamask for Avalanche
If you are having trouble using Metamask, there are a few things you can do to troubleshoot the issue.
First, make sure you have the latest version of Metamask installed. You can find the latest version on the Metamask website.
Second, make sure you are using the correct browser. Metamask is only compatible with Chrome and Firefox.
Third, make sure you are using the correct address bar. Metamask only works with https:// addresses.