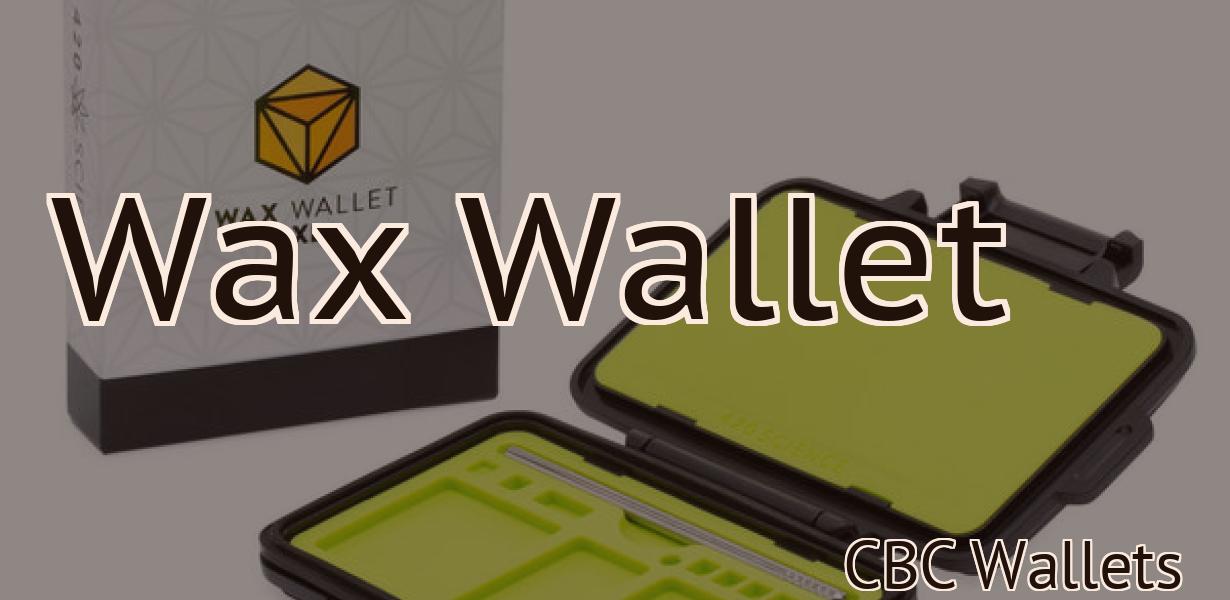
Add Bsc Mainnet To Metamask
If you're a fan of the Binance Smart Chain and you use Metamask, you're in luck. You can now add the Binance Smart Chain to your Metamask wallet. This guide will show you how.
How to add BSC Mainnet to Metamask
1. Visit https://metamask.io/.
2. Click on the "Add Wallet" button on the top left corner.
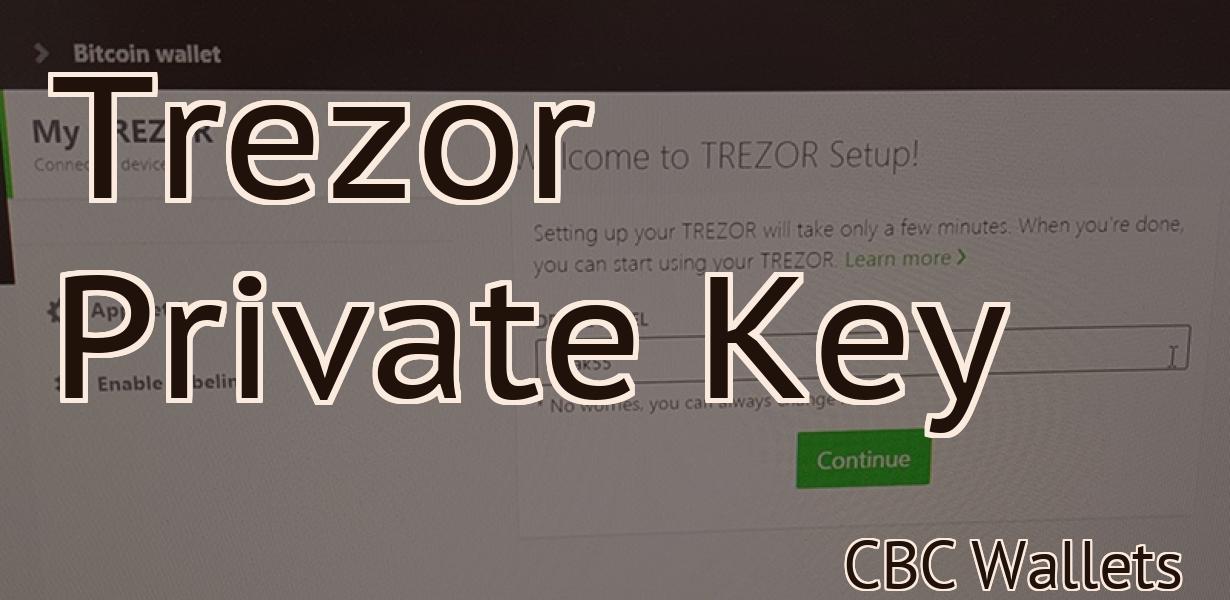
3. Click on the "Import Private Key" button.
4. Copy and paste the following private key into the text field.
5. Click on the "Next" button.
6. Paste the following public address into the "Address" text field.
7. Click on the "Next" button.
8. Click on the "Finish" button.
9. You will now be asked to configure your Metamask wallet. Click on the "Configure" button.
10. Under the "Settings" tab, click on the "API Access" button.
11. Under the "API Access" tab, click on the "Enable" button.
12. Under the "Enabled Tokens" tab, click on the "Binance Mainnet" button.
13. Click on the "Save" button.
Adding BSC Mainnet to Metamask
To add BSC Mainnet to Metamask, open Metamask and click on the “Add Wallet” button.
Select “Import Private Key” and enter the BSC private key that you exported from your BSC wallet.
Once the key has been entered, Metamask will display the BSC Mainnet address.
To add BSC Mainnet to Metamask, open Metamask and click on the “Add Wallet” button.
Select “Import Private Key” and enter the BSC private key that you exported from your BSC wallet.
Once the key has been entered, Metamask will display the BSC Mainnet address.
BSC Mainnet on Metamask
If you are using Metamask, you can start using the BSC Mainnet by following these steps:
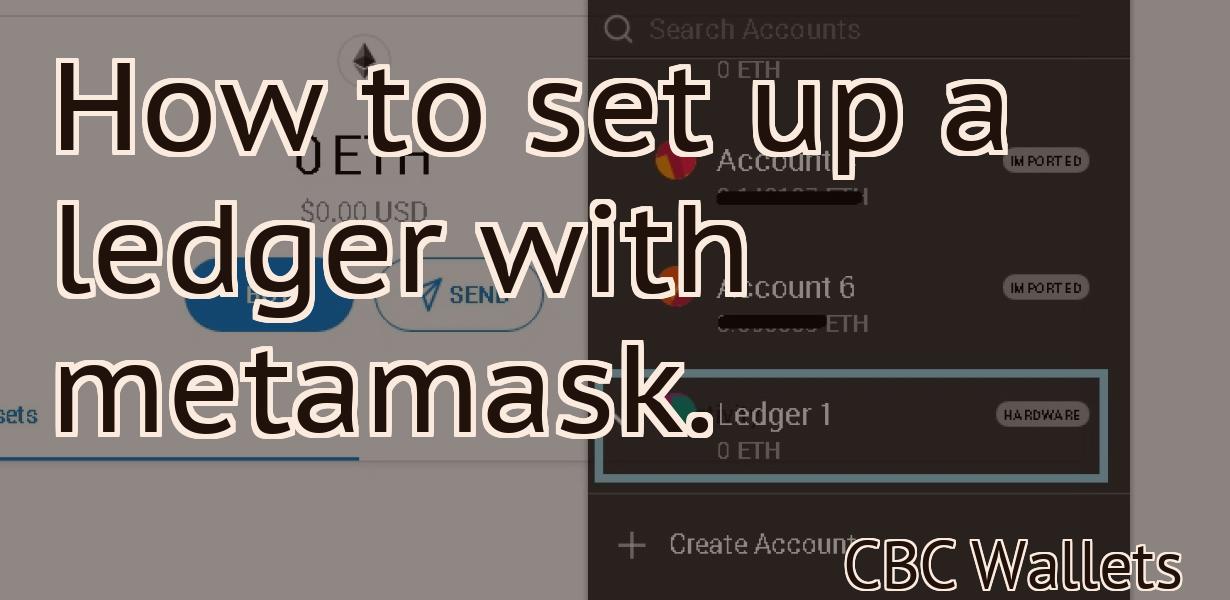
1. Open Metamask and click on the three lines in the top left corner.
2. In the "Network" section, select the "BSC Mainnet" network.
3. In the "Bitcoin" section, select the "BTC" wallet.
4. Click on the "Connect" button to connect to the BSC Mainnet.
How to use BSC Mainnet with Metamask
First, you need to create an Ethereum account. Then, download and install Metamask.
Once you have Metamask installed, go to https://bsc.net and click on the “Connect” button.
On the Metamask window that pops up, click on the “Add Account” button and enter your Ethereum address. You will also need to set a password.
After you have set up your Metamask account, click on the “Connect” button on the BSC Mainnet window.
On the BSC Mainnet window, you will need to input your Ethereum wallet address. After you have entered your address, click on the “Create Account” button.
After you have created your account, you will be able to see all of your transactions on the BSC Mainnet window.
Getting started with BSC Mainnet on Metamask
1. First, you'll need to create a Metamask account. If you don't have one, you can create one here.
2. Once you have an account, open it and click on the "New Account" button in the top right corner.
3. On the new account page, click on the "Metamask" button in the top left corner.
4. In the "Metamask" window, click on the "Add Wallet" button.
5. On the "Add Wallet" window, click on the "Metamask" button in the top left corner.
6. On the "Metamask" window, click on the "Import Wallet" button.
7. On the "Import Wallet" window, click on the "Bancor" button.
8. In the "Bancor" window, click on the "Import Wallet" button.
9. On the "Import Wallet" window, you'll see a list of all of your wallets. Click on the "Bancor" button to open it.
10. In the "Bancor" window, you'll see a list of all of your tokens. Click on the "Add Token" button to add Bancor (BNT) to your Metamask account.
11. After you have added Bancor (BNT) to your Metamask account, you will need to generate a Bancor (BNT) wallet address. To do this, click on the "Generate New Wallet Address" button.
12. After you have generated a Bancor (BNT) wallet address, copy the address into the "Address" field of the Metamask window.
13. Finally, click on the "Configure Wallet" button to finish setting up your Bancor (BNT) account.
How to connect BSC Mainnet to Metamask
To connect BSC Mainnet to Metamask, you will need:
1. A BSC Mainnet wallet
2. Metamask
3. A Metamask account
4. A BSC Mainnet public address
5. A Metamask private key
6. Your Metamask account passphrase
7. Your BSC Mainnet public address
Step 1: Open your BSC Mainnet wallet and click on the “Connections” tab.
Step 2: In the “Connections” tab, select the “Metamask” connection and enter your Metamask account passphrase.
Step 3: Click on the “Connect” button to connect your Metamask account to your BSC Mainnet wallet.
Step 4: Copy the BSC Mainnet public address that appears in the “Metamask Connected Address” field and paste it into the “BSC Mainnet Public Address” field in your BSC Mainnet wallet.
Step 5: Copy the Metamask private key that appears in the “Metamask Connected Key” field and paste it into the “Metamask Private Key” field in your BSC Mainnet wallet.
Step 6: Click on the “Save Changes” button to save your changes.
Using BSC Mainnet with Metamask
This document will walk you through how to use the BSC Mainnet with Metamask.
1. Launch Metamask and connect to the BSC Mainnet.
2. In Metamask, click on the “Advanced” button and select the “Services” tab.
3. Under the “Services” tab, find the “BSC Mainnet” service and click on it.
4. On the “Service Details” page, you will need to provide your Metamask wallet address and your BSC public key. You can find your Metamask wallet address in the “My Wallet” section of Metamask, and you can find your BSC public key on the BSC website.
5. Click on the “Enable” button to enable the BSC Mainnet service.
6. In the “Service Options” page, you will need to provide your Metamask account password and set a gas limit. The gas limit is how much gas the BSC Mainnet service will consume when performing transactions. You can find your Metamask account password in the “My Wallet” section of Metamask, and you can find your BSC public key on the BSC website.
7. Click on the “OK” button to enable the BSC Mainnet service.
Accessing BSC Mainnet through Metamask
If you want to access BSC Mainnet through Metamask, you first need to create an account with Metamask. After you have created your Metamask account, you will need to install the Metamask extension. Once the extension has been installed, you can access Metamask by clicking on the icon in your browser toolbar and then clicking on the 'Create a new account' button.
Next, you will need to input your Metamask account name and password into the 'Metamask Login' field and click on the 'log in' button. After you have logged in, you will be presented with the 'Metamask Mainnet' page. On this page, you will need to click on the 'Connect to BSC Mainnet' button.
Once you have clicked on the 'Connect to BSC Mainnet' button, Metamask will open a new window that will allow you to enter your BSC Mainnet address. After you have entered your BSC Mainnet address, Metamask will will will show you the 'Metamask Connected' message.
Connecting BSC Mainnet to your Metamask wallet
You can connect BSC Mainnet to your Metamask wallet by following these steps:
1. Open Metamask and click on the three lines in the top right corner.
2. Under "Settings", click on "Connections".
3. In the "Connected Networks" section, click on the three dots next to BSC Mainnet.
4. Enter your BSC Mainnet address into the "Connect Address" field and click on the "Connect" button.
5. You will now be connected to BSC Mainnet!