Setup Trezor
If you're looking to set up a Trezor hardware wallet, this article will show you how. We'll go over everything you need to know in order to get started using your Trezor, including how to set it up and how to use it.
Get Started With Trezor: Setting Up Your Hardware Wallet
If you want to get started with the Trezor hardware wallet, you first need to set it up. You can do this by following these steps:
1. Plug in the Trezor to your computer.
2. Open the Trezor software.
3. Click on the “Create New Wallet” button.
4. Fill out the required information and click on the “Next” button.
5. Select a password for your wallet and click on the “Next” button.
6. Click on the “Create” button to create your wallet.
7. Click on the “View Wallet Info” button to view your wallet information.
How to Set Up a Trezor Hardware Wallet
1. Open the Trezor wallet app and sign in.
2. On the main screen, tap the three lines in the top left corner.
3. Under "Add a new account," select "Trezor."
4. Enter your Trezor password and click "Create."
5. Choose a name for your new account and click "Next."
6. Under "Account settings," choose "BIP38 recovery seed."
7. Under "Account type," choose "Hardware wallet."
8. Under "Hardware wallet options," choose "Create a new seed."
9. Type in a 12-word recovery seed and click "Next."
10. Confirm your seed by clicking "Finish."
11. Under "Settings," tap the three lines in the top left corner and select "Trezor."
12. Under "Settings," tap "Accounts."
13. Under "Your accounts," tap your new account and select "Settings."
14. Under "BIP38 recovery seed," tap "Copy."
15. Tap the three lines in the top left corner and select "Trezor."
16. Under "BIP38 recovery seed," tap "Paste."
17. Tap the three lines in the top left corner and select "Trezor."
18. Under "BIP38 recovery seed," type your 12-word recovery seed and tap "OK."
19. Confirm your recovery seed by clicking "Done."
A Step-By-Step Guide to Setting Up Your Trezor Wallet
If you are new to cryptocurrency and are looking for a wallet to store your coins, the TREZOR wallet is a great option. This wallet is secure and easy to use, and it can be used on many different devices. In this guide, we will walk you through the steps necessary to set up your Trezor wallet.
1. Download the Trezor wallet app from the App Store or Google Play store.
2. Open the Trezor app and create a new wallet.
3. Enter your password.
4. Select your currency (Bitcoin, Ethereum, Litecoin, or Bitcoin Cash).
5. Click on “Add New Coin.”
6. Select the coin you want to add to your wallet.
7. Confirm your selection by clicking on “OK.”
8. Click on the “ wallet address” button.
9. Enter the address of the coin you have added to your wallet.
10. Click on the “Send” button.
11. Enter the amount of coins you want to send.
12. Click on the “Confirm Send” button.
13. Your coins will be sent to the address you entered in step 10.
How to Use a Trezor Hardware Wallet: Complete Beginner’s Guide
If you are new to using a hardware wallet, this guide is for you. This guide will show you how to use a trezor hardware wallet and help you get started with cryptocurrency.
Before you start, make sure that you have the following:
1. A computer with an internet connection
2. The trezor hardware wallet
3. A Bitcoin or other cryptocurrency wallet
4. A Trezor seed phrase
5. A Bitcoin or other cryptocurrency
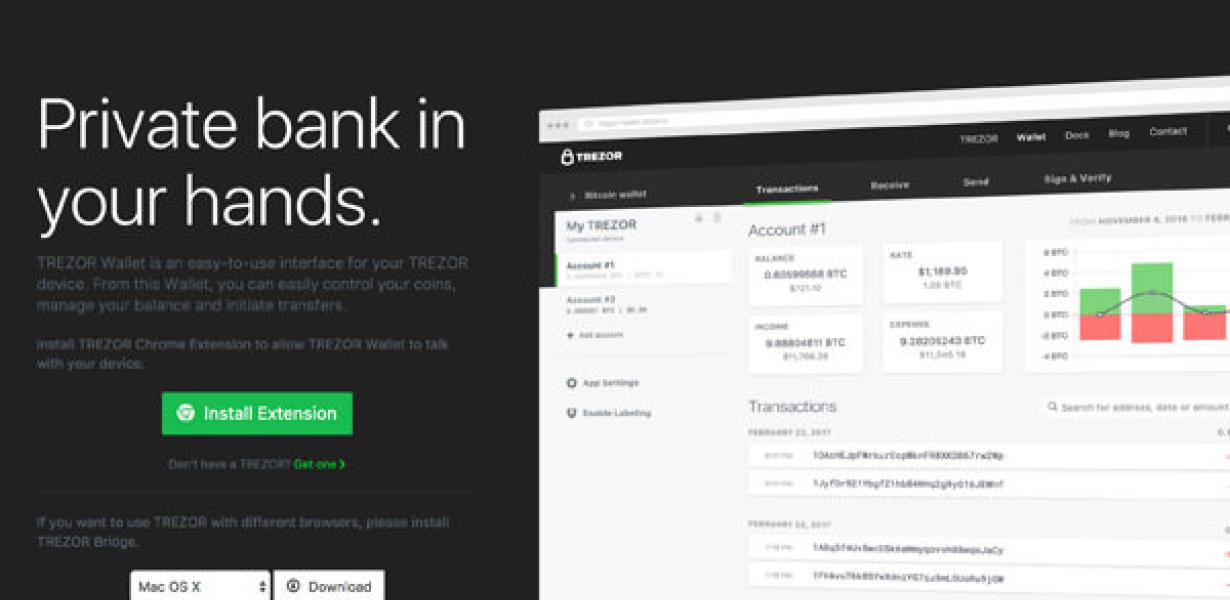
To set up your trezor hardware wallet, first make sure that you have installed the trezor software on your computer. You can download the trezor software from the trezor website. Once you have installed the trezor software, open it. You will see a screen like the one below.
On this screen, you will need to choose a passphrase. This is a phrase that you will use to unlock your trezor device. The passphrase should be at least 8 characters long and should be something that you will remember easily. Make sure that you write down the passphrase so that you can access your trezor device if you need to.
Next, you will need to create a seed phrase. This is a phrase that will help you restore your trezor device if it is lost or stolen. To create a seed phrase, first click on the button labelled ‘Create new seed’. On this screen, you will need to enter the passphrase that you used to set up your trezor device. Next, you will need to enter the 24 words that are displayed on your trezor device. These words are the seed phrase. Once you have entered all of the information on this screen, click on the ‘Create new seed’ button.
Now, you will need to save the seed phrase. To do this, click on the ‘Saved Seed’ button. On this screen, you will need to enter the passphrase that you used to set up your trezor device. Next, you will need to enter the email address that you used when you created your trezor account. Finally, you will need to enter the password that you used when you created your trezor account. Once you have entered all of the information on this screen, click on the ‘Saved Seed’ button.
Now, you are ready to use your trezor hardware wallet. To start using your trezor hardware wallet, first click on the ‘Send’ button in the trezor software. On this screen, you will need to enter the address that you want to send Bitcoin or other cryptocurrencies to. Next, you will need to enter the amount of Bitcoin or other cryptocurrencies that you want to send. Finally, you will need to enter the passphrase that you used to set up your trezor device. Click on the ‘Send’ button to send the Bitcoin or other cryptocurrencies.
Once you have sent Bitcoin or other cryptocurrencies through your trezor hardware wallet, you will need to wait for them to arrive in your Bitcoin or other cryptocurrency wallet. To do this, wait until the transaction has been confirmed by the network. You can check this by clicking on the ‘Transaction History’ tab in the trezor software. Once the transaction has been confirmed, you will see a message like the one below.
The Ultimate Guide to Setting Up Your Trezor Wallet
1. Download the Trezor Wallet
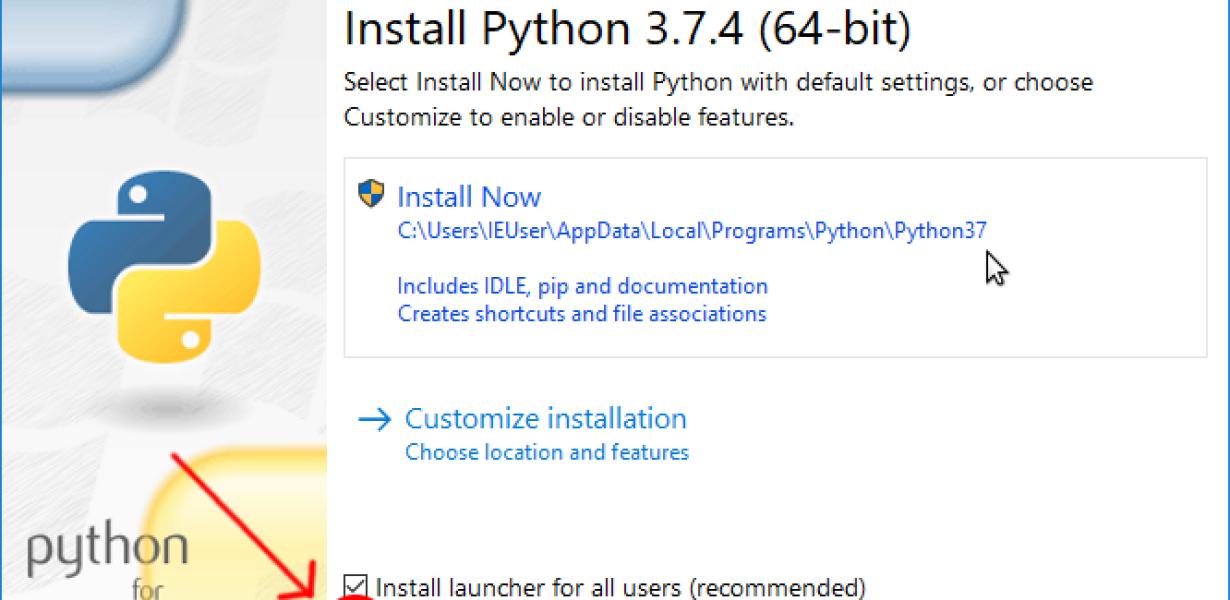
The first step is to download the Trezor Wallet. You can do this by going to the Trezor website and clicking on the “Download” button. Once the Trezor Wallet has been downloaded, you will need to install it on your computer. To do this, you will need to click on the file and then click on the “Install” button. This will install the Trezor Wallet on your computer.
2. Create a New Trezor Wallet
The next step is to create a new Trezor Wallet. To do this, you will need to click on the “New Wallet” button. This will open the Trezor Wallet creation wizard. The first thing you will need to do is to choose a name for your new Trezor Wallet. Once you have chosen a name, you will need to choose a password. You will also need to choose a recovery phrase. The recovery phrase is a six-word phrase that you will use to access your Trezor Wallet if you lose it. Finally, you will need to choose a security level. The three security levels are: basic, standard, and enhanced. The basic security level is the weakest security level and is recommended for beginners. The standard security level is the middle security level and is recommended for intermediate users. The enhanced security level is the strongest security level and is recommended for more experienced users.
3. Add Funds to Your Trezor Wallet
After you have created your new Trezor Wallet, you will need to add funds to it. To do this, you will need to click on the “Funds” button. This will open the Funds management window. The first thing you will need to do is to choose a currency. The Trezor Wallet supports many different currencies, including USD, EUR, GBP, CAD, and JPY. Next, you will need to choose a cryptocurrency. The Trezor Wallet supports many different cryptocurrencies, including Bitcoin, Ethereum, Litecoin, and Dash. Finally, you will need to choose a wallet address. The wallet address is the address that you will use to send and receive cryptocurrency from your Trezor Wallet.
4. Send Funds from Your Trezor Wallet
Now that you have added funds to your Trezor Wallet, you can start sending cryptocurrency from it. To do this, you will need to click on the “Send” button. This will open the Send cryptocurrency window. The first thing you will need to do is to choose a cryptocurrency. The Trezor Wallet supports many different cryptocurrencies, including Bitcoin, Ethereum, Litecoin, and Dash. Next, you will need to choose a recipient wallet address. The recipient wallet address is the address that you will use to send cryptocurrency to your friend or family member. Finally, you will need to enter the amount of cryptocurrency that you want to send. The Trezor Wallet will automatically calculate the fee that you will need to pay for this transaction.
5. Receive Cryptocurrency from Your Trezor Wallet
Now that you have sent cryptocurrency to your friend or family member, you can receive it from your Trezor Wallet. To do this, you will need to click on the “Receive” button. This will open the Receive cryptocurrency window. The first thing you will need to do is to enter the recipient wallet address that you received the cryptocurrency from. Next, you will need to enter the amount of cryptocurrency that you want to receive. The Trezor Wallet will automatically calculate the fee that you will need to pay for this transaction. Finally, you will need to confirm the transaction by clicking on the “Send” button. If everything goes according to plan, your cryptocurrency should be transferred from the recipient wallet address to your Trezor Wallet within minutes.
How to Configure Your Trezor Wallet
If you have a TREZOR wallet, you will need to follow these steps to configure it.
First, open the TREZOR wallet on your computer.
Second, click on the three lines in the top left corner of the window.
Third, click on “Settings”.
Fourth, click on “Device”.
Fifth, click on “Trezor (Hardware)”.
Sixth, enter your email address and password in the appropriate fields.
Seventh, click on “Save”.
How to Set Up Your Trezor Hardware Wallet
1. Connect your TREZOR hardware wallet to your computer.
2. Open TREZOR and click on thebutton in the top left corner.
3. On thepage that pops up, click on thebutton next to theword.
4. In thebox that opens, copy the 12-word recovery seed to a safe place. You will need this to restore your wallet if it gets damaged or lost.
5. Click on thebutton to continue.
6. On thepage that pops up, click on thebutton next to theword.
7. In thebox that opens, click on thebutton to create a new Trezor wallet.
8. Enter your 12-word recovery seed into thefield and click on thebutton.
9. Your Trezor wallet is now set up and ready to use.
A Beginner’s Guide to Setting Up a Trezor Wallet
If you are new to cryptocurrency, then you may be wondering what a wallet is and how to set one up. A wallet is a piece of software that stores your cryptocurrencies and helps you to manage your transactions.
To set up a Trezor wallet, you will first need to download the Trezor wallet software. Once you have downloaded the Trezor wallet, you will need to create a new account. To do this, click on the “New Account” button in the main menu of the Trezor wallet.
Once you have created your new account, you will need to enter your basic information. This includes your name, email address, and password. You will also need to choose a recovery phrase. This is a phrase that you will use to recover your Trezor wallet if you lose it.
Once you have completed the registration process, you will be able to store your cryptocurrencies in your Trezor wallet. To do this, click on the “Add Funds” button in the main menu of the Trezor wallet.
You will then need to enter the amount of cryptocurrency that you want to store in your Trezor wallet. You can either enter the amount in units of bitcoin or euros. Once you have entered the amount of cryptocurrency that you want to store, click on the “Add Funds” button.
Your Trezor wallet will now contain the specified amount of cryptocurrency. To manage your transactions, you will need to use the Trezor wallet software. To do this, click on the “Trezor Wallet” button in the main menu of the Trezor wallet.
You will then need to enter your PIN code. This is the code that you will use to access your Trezor wallet. Once you have entered your PIN code, you will be able to view your current balance and transactions. You will also be able to send and receive cryptocurrency using the Trezor wallet software.
How to Use a Trezor Wallet
To use a Trezor wallet, first create an account at trezor.com. Once you have created an account, you will need to generate a new Trezor wallet. To generate a new Trezor wallet, visit trezor.com and click on the “Generate New Wallet” button. You will be asked to enter your email address and password. After you have entered your email address and password, you will be prompted to choose a name for your new Trezor wallet. You can choose any name you want, but make sure it is unique. Once you have chosen a name for your new Trezor wallet, you will be prompted to choose a password. Make sure you choose a strong password that is unique to your Trezor wallet. After you have chosen a password, you will be prompted to confirm your password. After you have confirmed your password, you will be able to create your new Trezor wallet.