Metamask To Pancakeswap
Metamask is a popular Ethereum wallet that allows users to store, send, and receive ETH and other ERC20 tokens. Pancakeswap is a decentralized exchange built on the Binance Smart Chain that allows users to trade ETH and other BEP20 tokens.
Metamask to pancakeswap: How to make the switch
To make the switch from Metamask to pancakeswap, first open Metamask. Then, on the left side of the screen, click on the "Add account" button. Next, enter your credentials for pancakeswap and click on the "Create account" button. Finally, open the pancakeswap menu and click on the "Metamask Integration" button.
Metamask to pancakeswap: A step-by-step guide
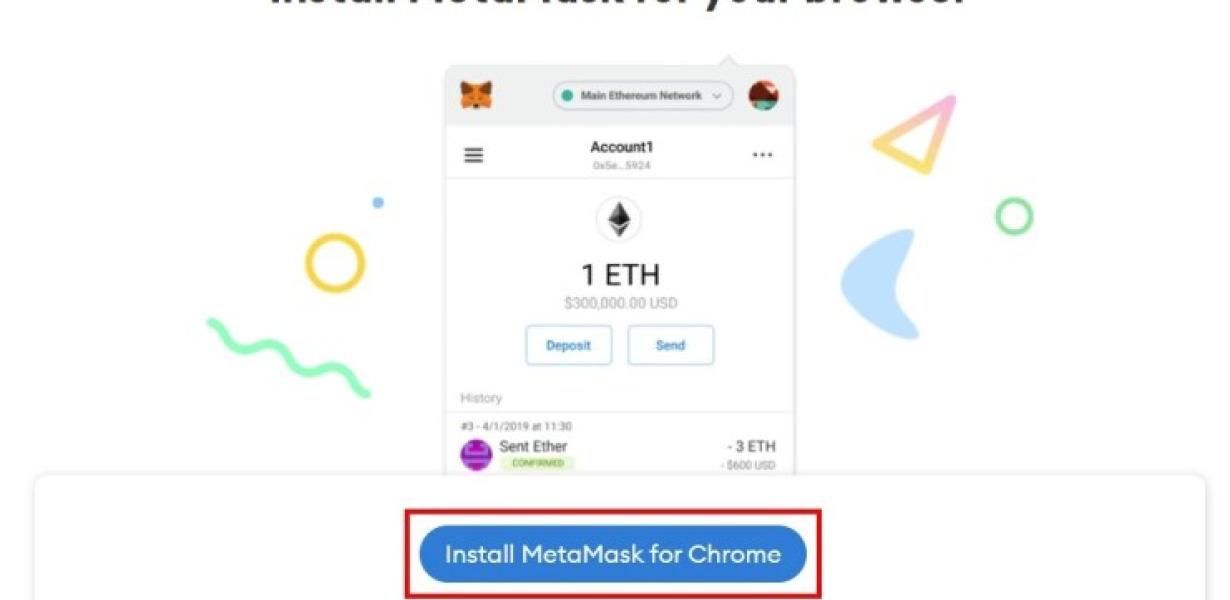
1. Install Metamask
2. Add an ERC20 token to your Metamask wallet
3. Open Metamask and click on the ERC20 token you just added
4. On the right side of the Metamask window, you will see a section called “Pancakeswap”
5. Under “Pancakeswap Rules”, click on “Create New Rule”
6. Enter the following information into the “Name” field:
“Metamask Pancakeswap”
7. In the “Address” field, enter the address of the recipient of your pancakeswap tokens
8. In the “Description” field, enter a description of your pancakeswap rule
9. Click on the “Create Pancakeswap Rule” button
10. Your new pancakeswap rule will now be active in Metamask!
From Metamask to pancakeswap: The ultimate guide
Metamask is a decentralized platform that allows users to manage their crypto and fiat accounts in one place. It also allows users to access the Ethereum network and other dapps.
To use Metamask, you first need to create an account. You can do this by clicking the button below.
Once you have created your account, you will need to download the Metamask app. The Metamask app is available for both Android and iOS devices.
Once you have downloaded and installed the Metamask app, you will need to create a new account. To do this, click on the button below.
Once you have created your new account, you will need to open it and click on the gear icon in the top left corner. This will open the settings menu.
In the settings menu, you will need to click on the Accounts tab. This will open the account overview page.
On the account overview page, you will need to click on the Add Account button. This will open the Add Account dialog box.
In the Add Account dialog box, you will need to enter the following information:
Name: This is the name of the account
This is the name of the account Email Address: This is the email address of the account
This is the email address of the account Password: This is the password of the account
This is the password of the account Confirm Password: This is a security measure to ensure that you are the owner of the account
This is a security measure to ensure that you are the owner of the account Address: This is the address where the account will be registered
This is the address where the account will be registered Phone Number: This is the phone number of the account
This is the phone number of the account Country: This is the country where the account will be registered
Once you have entered all of the required information, click on the Create Account button.
Once you have created your account, you will need to add a payment method. To do this, click on the button below.
The Add Payment Method dialog box will open. In this dialog box, you will need to enter the following information:
Name: This is the name of the payment method
This is the name of the payment method Type: This is the type of payment method
This is the type of payment method Description: This is a brief description of the payment method
This is a brief description of the payment method Email Address: This is the email address of the person who will be using the payment method
This is the email address of the person who will be using the payment method Phone Number: This is the phone number of the person who will be using the payment method
This is the phone number of the person who will be using the payment method Country: This is the country where the payment method will be used
Once you have entered all of the required information, click on the Create Payment Method button.
Once you have added your payment method, you will need to add an Ethereum address. To do this, click on the button below.
The Add Ethereum Address dialog box will open. In this dialog box, you will need to enter the following information:
Name: This is the name of the Ethereum address
This is the name of the Ethereum address Email Address: This is the email address of the person who will be using the Ethereum address
This is the email address of the person who will be using the Ethereum address Phone Number: This is the phone number of the person who will be using the Ethereum address
This is the phone number of the person who will be using the Ethereum address Country: This is the country where the Ethereum address will be used
Once you have entered all of the required information, click on the Create Ethereum Address button.
Now that you have added your Ethereum address and payment method, you are ready to start trading! To start trading, you first need to create an account with a trading platform. To do this, click on the button below.
The Trading Platforms Dialog Box will open. In this dialog box, you will need to enter the following information:
Name: This is the name of the trading platform
This is the name of the trading platform Email Address: This is the email address of the person who will be using the trading platform
This is the email address of the person who will be using the trading platform Phone Number: This is the phone number of the person who will be using the trading platform
This is the phone number of the person who will be using the trading platform Country: This is the country where the trading platform will be used
Once you have entered all of the required information, click on the Create Trading Account button.
How to move from Metamask to pancakeswap
To move from Metamask to pancakeswap, follow these steps:
1. Open Metamask and click on the three lines in the top left corner.
2. Under "My Accounts," click on "Add Account."
3. Type pancakeswap in the "Account Name" field and click on "Next."
4. Under "Account Details," click on the "Billing Address" tab and input your pancakeswap billing address.
5. Click on the "Verification" tab and enter the verification code that you received after signing up for pancakeswap.
6. Click on the "Save" button and you're ready to move your coins to pancakeswap!
How to convert Metamask to pancakeswap
To convert Metamask to pancakeswap, open Metamask and click on the three lines in the top left corner. This will open the Metamask Settings menu.
In the Metamask Settings menu, click on the Accounts tab.
In the Accounts tab, under "My Account", click on "Manage Accounts".
On the Manage Accounts page, under "Pancakeswap", click on the "Create New Pancakeswap Account" button.
On the "Create New Pancakeswap Account" page, enter the following information:
Name: Enter "Pancakeswap"
Email: Enter your email address
Password: Enter your password
After you have filled out the "Create New Pancakeswap Account" page, click on the "Create Account" button.
On the "Create Account" page, click on the "Register" button.
On the "Register" page, you will be asked to verify your email address. Click on the "Verify Email" button.
After you have verified your email address, you will be asked to create a security question. Click on the "Create Security Question" button.
After you have created your security question, you will be asked to provide your personal information. Click on the "Provide Personal Information" button.
After you have provided your personal information, you will be asked to authorize Pancakeswap to access your Metamask account. Click on the "Authorize Pancakeswap" button.
After you have authorized Pancakeswap to access your Metamask account, you will be redirected back to the "Create New Pancakeswap Account" page. Click on the "Create Account" button.
After you have created your account, you will be returned to the "Manage Accounts" page. Under "Pancakeswap", click on the "Show On Wallet" button.
On the "Show On Wallet" page, you will see your pancakeswap account information. Under "Pancakeswap", click on the "Send Ether & Tokens" button.
On the "Send Ether & Tokens" page, you will be asked to input the amount of ether and tokens that you want to send to your pancakeswap account. You will also be asked to input the address of the recipient of the ether and tokens. After you have input the information required on the "Send Ether & Tokens" page, click on the "Send" button.
How to change Metamask to pancakeswap
To change Metamask to pancakeswap, open the Metamask app and click on the three lines in the top left corner. On the right side of the window, click on "Settings". In the "Settings" window, click on "Appearance". In the "Appearance" window, click on "Color". In the "Color" window, click on "Pancakeswap".
How do I switch from Metamask to pancakeswap?
To switch from Metamask to pancakeswap, open Metamask and click on the three lines in the top right corner. On the left, under "apps," you will see "Pancakeswap." Click on it to open the app. On the right, under "accounts," you will see your Metamask account. Under "properties," you will see your "Pancakeswap" account's password. Click on the "change" link next to your Pancakeswap password to change it.
What is the process to switch from Metamask to pancakeswap?
The process to switch from Metamask to pancakeswap is simple. First, you will need to download and install pancakeswap on your device. Once installed, you will need to create a new account. After creating your account, you will need to connect your Metamask account to your new account. After connecting your accounts, you will be able to trade and interact with the pancakeswap platform just as you would with Metamask.
Is it possible to switch from Metamask to pancakeswap?
No, it is not possible to switch from Metamask to pancakeswap.