Metamask Guide
This Metamask Guide provides step-by-step instructions on how to install and use the Metamask plugin for Chrome. Metamask is a plugin that allows you to securely store your Ethereum private keys in a password-protected "vault". With Metamask, you can easily manage your accounts and transactions on the Ethereum network.
How to install and use metamask
First, you need to install the metamask application on your computer.
To install metamask:
1. Go to https://metamask.io/.
2. Click on the “Download” button and download the Metamask application.
3. Open the Metamask application and click on the “Create New Account” button.
4. Register for a new account with your email address and password.
5. After you have registered for a new account, click on the “Create a New Wallet” button.
6. To create a new wallet, click on the “Create New Wallet” button and enter your personal information.
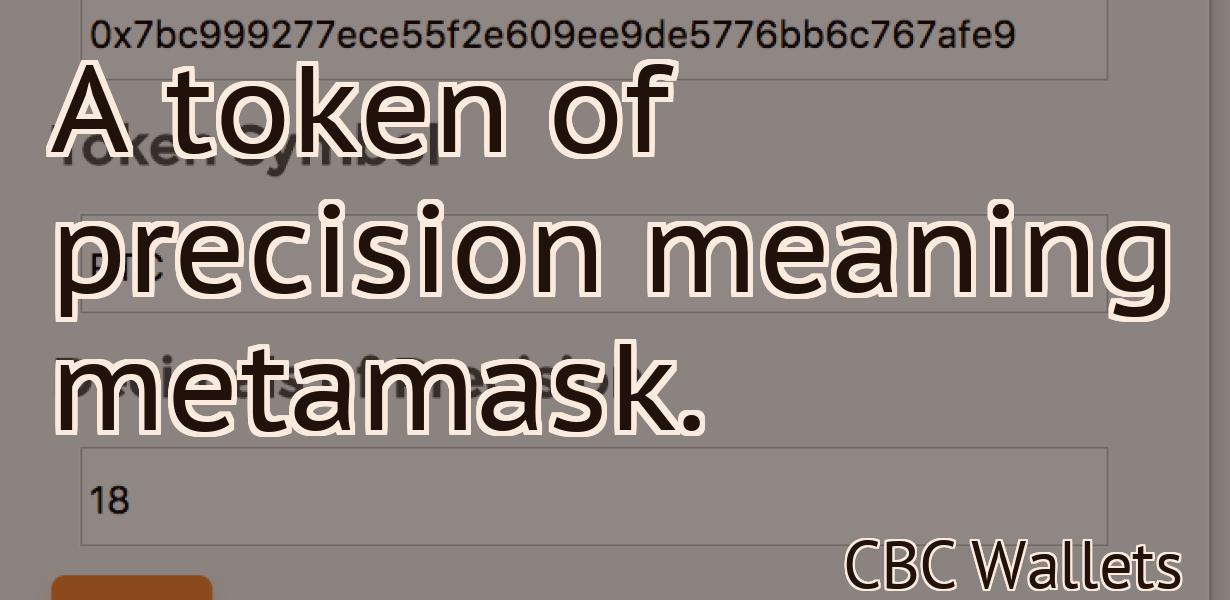
7. After you have created your new wallet, you will need to add some tokens. To do this, click on the “Add Custom Token” button and enter the following information:
a. Name of the token
b. Symbol of the token
c. Decimals of the token
8. After you have added the token information, click on the “Add Custom Token” button again and enter the following information:
a. Contract address of the token
b. Token supply amount
9. After you have added the token information, click on the “Save” button.
10. After you have added the token information, click on the “Start Metamask” button.
11. After you have started metamask, you will be prompted to input your PIN. To do this, click on the “Input Your PIN” button and enter the six-digit PIN that you were given when you registered for a new account.
12. After you have input your PIN, you will be asked to confirm your account. To do this, click on the “Confirm Account” button and enter your password again.
13. After you have confirmed your account, you will be able to start using metamask. To do this, click on the “Use Metamask” button and select the tokens that you want to use.
14. After you have selected the tokens, you will be able to buy and sell tokens using metamask. To do this, click on the “Buy” or “Sell” buttons and enter the amount of tokens that you want to buy or sell.
How to create a metamask account
To create a metamask account, visit metamask.io. After logging in, select the “New Account” button. You will then be asked to provide your email address and password. Next, you will be asked to choose a name for your account. Finally, you will be asked to provide a phone number and create a verification code. After completing the registration process, you will be able to access your new metamask account.
How to send and receive ether using metamask
1. Go to metamask.io and sign in.
2. Click on the "Add Account" button and create a new account.
3. Enter your personal details and click on the "Submit" button.
4. Click on the "View Wallet Info" button and enter your ether wallet address.
5. Click on the "Get Started" button and follow the instructions.
6. After you have set up your metamask account, you will need to install the metamask extension. Click on the "Extensions" button in the metamask main screen and search for "metamask". When the metamask extension is installed, click on the "Activate" button.

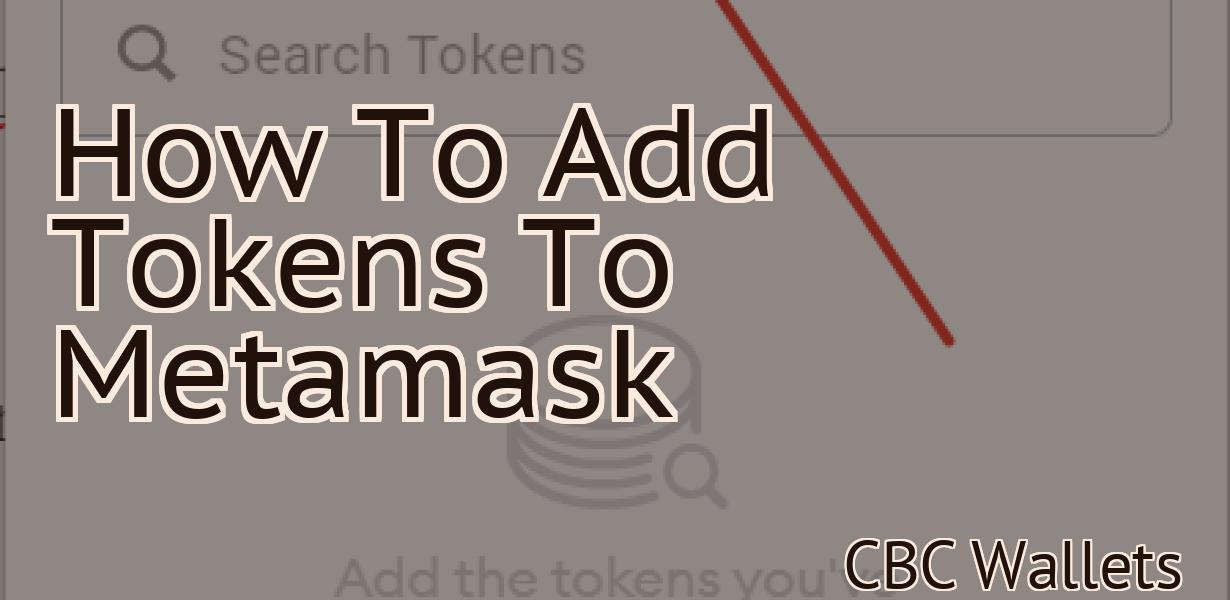
How to add tokens to your metamask wallet
1. Open your metamask wallet and click on the “tokens” tab.
2. Click on the “add token” button and enter the following information:
Token name: EOS
Token symbol: EOS
3. Click on the “add token” button and wait for the token to be added to your wallet.
How to use metamask with decentralized applications
To use Metamask with a decentralized application, first open the Metamask extension on your browser.
Next, connect to the DApp you want to use by clicking on the "Connect" button in the upper right corner of the Metamask extension.
Once connected, you will be able to browse the DApp's documentation and manage your account.
What is gas and how does it work with metamask?
Metamask is a platform that allows users to trade and spend cryptocurrencies and tokens. GAS is used to pay for transactions on the Metamask platform.
How to secure your metamask account
1. Login to your metamask account and click on the three lines in the top left corner of the screen.
2. Click on “Settings”.
3. Under “Security”, click on the “Manage Security Keys” button.
4. Click on the “Add a New Key” button.
5. Enter a name for your key and click on the “Create” button.
6. Copy the text that appears in the “Security Key” field and save it to a safe place. You will need this text to log in to your metamask account if you ever lose your security key.
7. Click on the “Update” button to save your changes.
Using metamask with Ledger Nano S
To use metamask with your Ledger Nano S, you will first need to install the Metamask extension. This can be done by following these instructions.
Once the Metamask extension is installed, you will need to open it and click on the “Add new account” button.
From here, you will need to input your credentials for the new account. These can be found in the Settings menu of the Metamask extension.
Once you have entered your credentials, you will need to click on the “Create new account” button.
From here, you will be prompted to input your Ethereum address. This can be found on the Blockchain tab of your Ledger Nano S account page.
Next, you will need to input your Metamask PIN. This can be found in the Settings menu of the Metamask extension.
Once you have entered your Metamask PIN and your Ethereum address, you will be prompted to input your password. This can be found in the Settings menu of the Metamask extension.
Once you have entered your password, you will be ready to use metamask with your Ledger Nano S.
Using metamask with Trezor
To use metamask with Trezor, you will need the following:
A Trezor device
A metamask account
A browser with metamask support
To get started, open your browser and go to https://metamask.com. On the Metamask home page, click on the Register button.
Next, create a new metamask account. On the account creation page, enter the following information:
Name: Your Name
Email: Your Email Address
Phone Number: Your Phone Number
Once you have completed the registration process, click on the Download Metamask Button. This will download the metamask client onto your computer.
Next, open the metamask client and click on the Connect Button. If you have previously set up a trezor device, you will see a message asking if you want to connect to it. If not, you will need to follow the instructions below to set up your trezor device.
If you have not set up a trezor device, you will need to follow the instructions below to set up your trezor device.
First, open the trezor app and click on the Add New Wallet button. Next, enter the following information:
Name: Your Name
Address: Your Address
Description: Your Description
Once you have completed the wallet creation process, click on the Wallet Access button. This will open the trezor wallet interface.
Next, click on the onion icon in the top right corner of the wallet interface. This will open the metamask interface. In the metamask interface, click on the Connect button.
Now, in the trezor wallet interface, click on the View Address button. This will open the trezor addressbook. In the trezor addressbook, click on the Add New Address button. Next, enter the following information:
Name: Your Name
Address: Your Address
Description: Your Description
Once you have completed the address creation process, click on the Done button. This will close the trezor addressbook and return you to the trezor wallet interface.
Now, in the trezor wallet interface, click on the Send Money button. This will open the send money interface. In the send money interface, enter the following information:
To: Your Email Address
Amount: $10.00 USD
Click on the Send Money button. This will send $10.00 USD to your email address.
MetaMask vs MyEtherWallet
There are some clear pros and cons to using each service.
Pros of using MetaMask:
MetaMask is a more user-friendly platform than MyEtherWallet. It is easier to create a new wallet, and you can also access your funds without having to download any additional software.
MetaMask also has better security features than MyEtherWallet. It will not allow you to access your funds if you lose your private key, and it has a built-in browser extension that encrypts all of your transactions.
Cons of using MetaMask:
MetaMask is more expensive than MyEtherWallet. It costs $9 per month to use MetaMask, compared to $4 per month for MyEtherWallet.
Another disadvantage of MetaMask is that it is not as widely available as MyEtherWallet. Although it is available on a variety of platforms, such as browsers and mobile apps, MyEtherWallet is available on almost every platform that exists.
Which browsers support metamask?
All browsers that support JavaScript and Ethereum support Metamask.