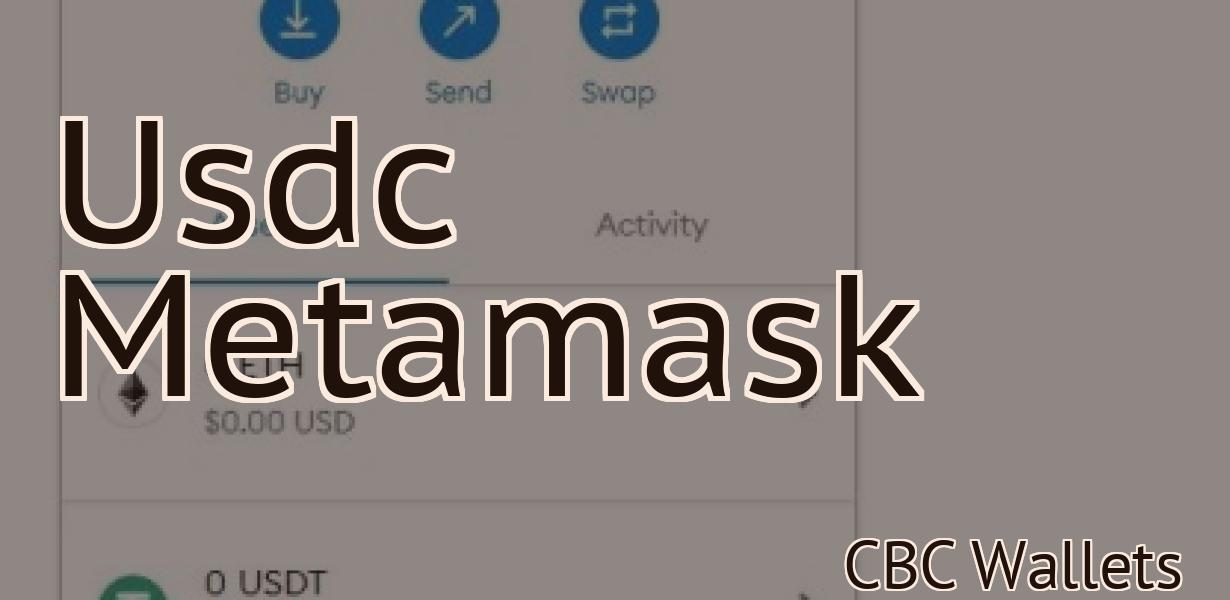
Metamask Export Transactions
If you're looking to export your Metamask transactions, there are a few different ways you can go about it. In this article, we'll walk you through the process of exporting your transactions as a CSV file.
How to export your transactions from Metamask
To export your transactions:
1. In Metamask, open the "Metamask" tab.
2. Click on the "History" button.
3. Select the "Transactions" tab.
4. Click on the "Export" button.
5. In the "Export format" dropdown, select "JSON".
6. In the "File name" field, enter a name for the file.
7. Click on the "Export" button.
Your exported transactions will be saved in the specified file.
Exporting your Metamask transactions made easy
Metamask is a great tool for managing your crypto transactions, but it can be a bit daunting to export your transactions. Here are some tips to make exporting your Metamask transactions easy:
1. Make a list of all of your transactions.
2. Log in to Metamask and click on the “View Transactions” button.
3. On the “View Transactions” page, click on the “Export” button next to each transaction.
4. In the “Export” dialog box, select the file type you want to export your transactions as (CSV, HTML, or JSON).
5. Click on the “Start Export” button to start transferring your transactions to your chosen file format.
A guide to exporting your Metamask transactions
1. To export your Metamask transactions, open Metamask and click on the "History" tab.
2. At the top of the history tab, click on the "Transactions" button.
3. On the Transactions page, under the "Metamask" tab, select the "Exports" tab.
4. Under the "Exports" tab, you will see a list of all your Metamask transactions. To export a transaction, click on the "Export" button next to it.
5. The "Export" window will open. In the "Export Data" section, you will be able to select the type of data you want to export. You can either export all the data in the transaction, or only the data that is relevant to your project.
6. In the "File Name" field, you will need to specify the name of the file that will contain the exported data.
7. In the "Save As" field, you will need to specify the location where you want to save the exported data.
8. Click on the "Export" button to export the data.
The ultimate guide to exporting Metamask transactions
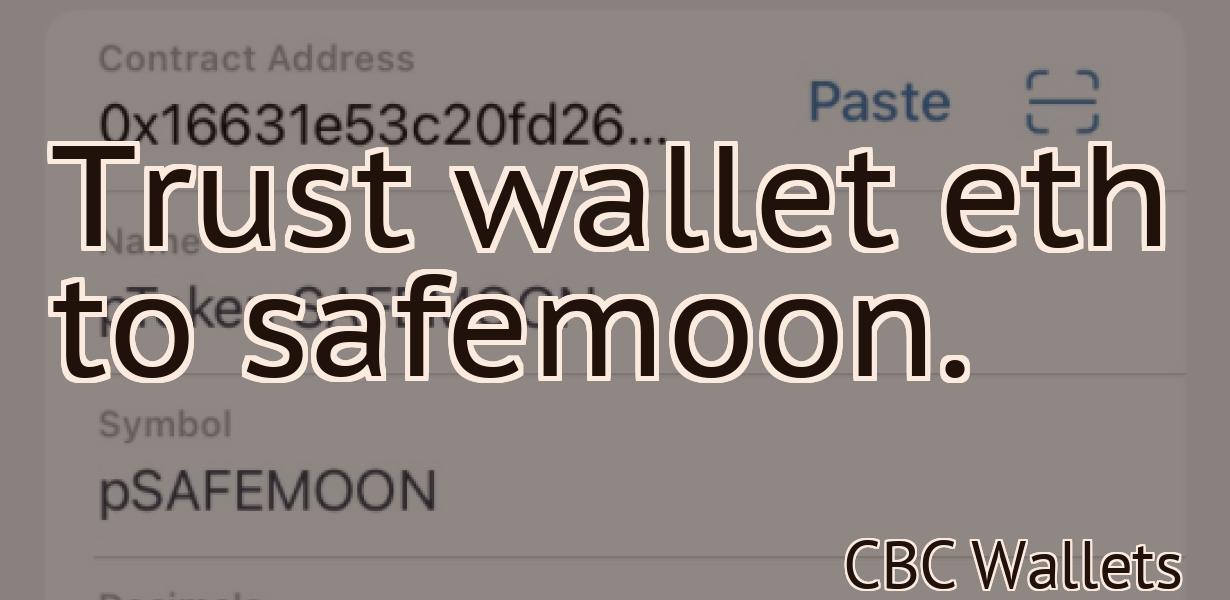
Metamask is a decentralized platform that allows you to access the Ethereum network and its decentralized applications. You can use Metamask to send and receive Ethereum, as well as to create and sign transactions.
To export your Metamask transactions, first open Metamask and click on thethree lines in the top left corner of the main screen. From there, select "History."
Next, select the "Transactions" tab. You'll see a list of all of your transactions. To export a transaction, click on it and select "Export."
You'll then be prompted to save the file to your computer. Once you've done that, you can open it in any text editor, such as Notepad.
The first few lines of the exported file will contain your Metamask account's private key. You'll need this private key to import your Metamask account into another platform, such as a wallet provider.
The rest of the file will contain your transaction data. Here, you'll find the following information:
Transaction ID: This is a unique identifier for the transaction.
This is a unique identifier for the transaction. Amount: This is the total amount of Ethereum that was transferred in this transaction.
This is the total amount of Ethereum that was transferred in this transaction. Date: This is the date and time of the transaction.
This is the date and time of the transaction. Gas Price: This is the gas price that was used to execute this transaction.
This is the gas price that was used to execute this transaction. Gas Used: This is the amount of gas used in this transaction.
This is the amount of gas used in this transaction. Receiving Address: This is the address that was used to send Ethereum to the recipient in this transaction.
This is the address that was used to send Ethereum to the recipient in this transaction. Sending Address: This is the address that was used to send Ethereum to the recipient in this transaction.
This is the address that was used to send Ethereum to the recipient in this transaction. Contract Address: This is the address of the contract that was used in this transaction.
This is the address of the contract that was used in this transaction. Data: This is a JSON object containing additional information about the transaction, such as gas prices and data values.
How to get your transactions out of Metamask
To get your transactions out of Metamask, you'll need to complete the following steps:
1. Close Metamask
2. Export your Metamask accounts
3. Import your Metamask accounts into a different wallet
1. Close Metamask
To close Metamask, you'll need to click on the "X" in the top right-hand corner of the app. This will close the app and remove all of your transactions from Metamask.
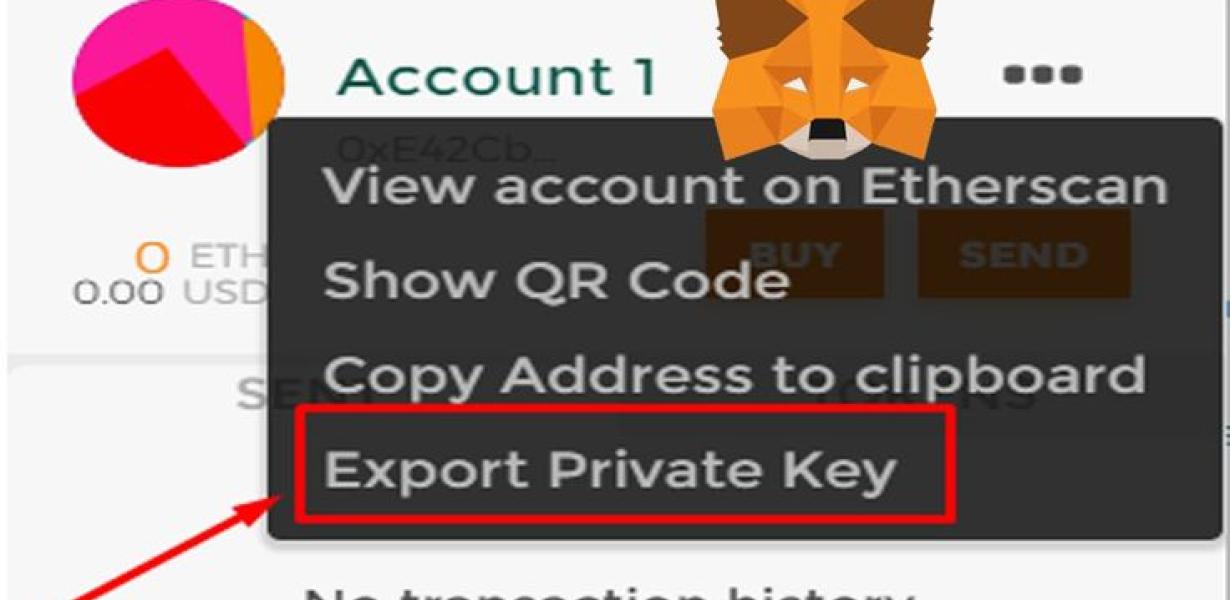
2. Export your Metamask accounts
To export your Metamask accounts, you'll need to click on the three dots in the top right-hand corner of the app and then select "Export Account." This will open a file that you can save to your computer.
3. Import your Metamask accounts into a different wallet
To import your Metamask accounts into a different wallet, you'll need to first export your Metamask accounts. After you have exported your Metamask accounts, you can then import them into a different wallet by clicking on the three dots in the top right-hand corner of the app and selecting "Import Account."
How to export your Metamask account data
To export your Metamask account data, follow these steps:
1. In the Metamask main menu, click on Accounts.
2. In the Accounts list, click on your account name.
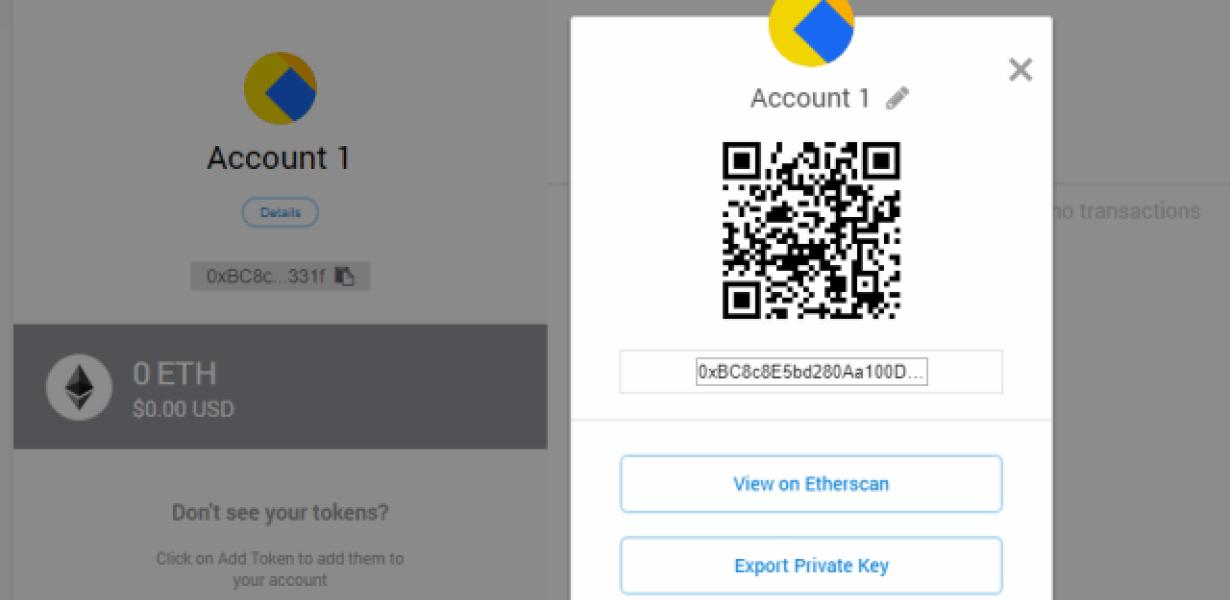
3. On the Account Overview page, under the Account data section, click on Export.
4. In the Export Account Data window, you will be asked to select the type of data you want to export. You can select either wallets or tokens.
5. In the Export Wallet Data window, you will be asked to select the wallets you want to export. You can select any of your existing wallets or create a new one.
6. In the Export Token Data window, you will be asked to select the tokens you want to export. You can select any of your existing tokens or create a new one.
7. Click on the Export button to start exporting your data.
How to backup your Metamask account
1. Open Metamask and click on the three lines in the top right corner.
2. On the left, click "accounts."
3. Under "Your accounts," click on "Backups."
4. On the next page, under "Backup type," select "Metamask backup."
5. Click on the blue button to start the backup.
6. If you have multiple accounts, repeat steps 3-5 for each account.
7. Once the backup is complete, you can open it in any file manager to view your Metamask account backups.
How to secure your Metamask account
There are a few simple steps you can take to secure your Metamask account:
1. Set a strong password
2. Keep your password secure
3. Avoid sharing your password with anyone
1. Set a strong password
To make sure your Metamask account is as secure as possible, make sure to choose a strong password. We recommend using a combination of letters, numbers, and symbols (including upper and lowercase letters, numbers, and symbols). Make sure to mix up your passwords between different accounts and websites.
2. Keep your password secure
To keep your Metamask account secure, be sure to never share your password with anyone. You can also use a password manager to keep your passwords safe and secure.
3. Avoid sharing your password with anyone
If you do need to share your Metamask password with someone, be sure to do so in a secure way. For example, you can email the password or use a secure messaging service like Signal.
How to export your transaction history from Metamask
To export your transaction history from Metamask, follow these steps:
1. In Metamask, click the three lines in the top left corner of the main screen.
2. Click the "History" tab.
3. Click the "Export" button next to each transaction you want to export.
4. Choose a file format and click the "Export" button.
How to view your transactions in Metamask
To view your transactions in Metamask, open the Metamask website and click on the three lines in the top left corner. This will open the Metamask Transaction Viewer.
On the left side of the screen, you will see a list of all of your transactions that have taken place on the Ethereum network since you last opened the Metamask Transaction Viewer.
To the right of each transaction, you will see information about the transaction, such as the amount of ether that was transferred, the address of the recipient, and the timestamp of the transaction.
If you want to see more detailed information about a specific transaction, you can click on the details icon next to that transaction. This will open up a new window that will show you more information about that specific transaction, including the ID of the contract that was executed, the address of the contract owner, and the details of the transaction itself.