"How to swap on trust wallet?"
This article will teach you how to swap on trust wallet.
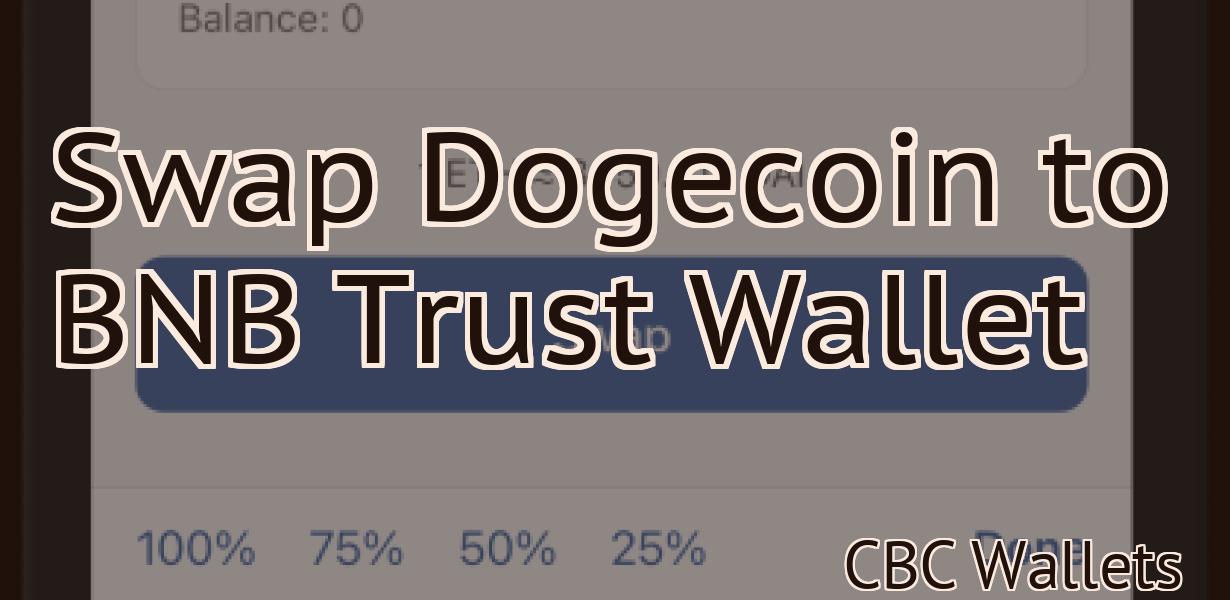
How to Swap on Trust Wallet
Swapping on Trust Wallet is simple. First, open the app and find the swap button on the main screen. Next, select the tokens you want to swap and enter the amount you want to swap. Finally, confirm the swap by clicking the Swap button.
How to Use Trust Wallet
To use Trust Wallet, first download the app from the App Store or Google Play. Once the app is installed, open it and sign in.
To create a new account, click on the "New Account" button on the main screen. You will be asked to enter your name and email address. You can also create a new password if you want.
Once you have created your account, you will be taken to the main screen. On this screen, you will see all of the wallets that are available to you.
To add a new wallet, click on the "Add Wallet" button. This will take you to the "Add Wallet" screen. Here, you will need to enter the URL for the wallet that you want to add. You can also add a custom logo if you want.
Once you have added the wallet, you will be taken to the "Add Coins" screen. Here, you will need to enter the amount of coins that you want to add to your wallet. You will also need to enter the wallet address for the coins.
After you have added the coins, you will be taken to the "Add Transactions" screen. Here, you will need to enter the transactions that you want to add to your wallet. You will also need to enter the wallet address for the transactions.
After you have added the transactions, you will be taken to the "Add Address" screen. Here, you will need to enter the address for the wallet that you want to add. You will also need to enter the wallet address for the transactions.
After you have added the address, you will be taken to the "Save" screen. Here, you will need to enter your password for the account. You will also need to confirm your password.
After you have entered your password and confirmed it, you will be taken to the "My Wallets" screen. Here, you will see all of the wallets that are available to you. You can also see the latest transactions for each wallet.
To add a new transaction, click on the "New Transaction" button. This will take you to the "New Transaction" screen. Here, you will need to enter the details of the transaction. You will also need to enter the wallet address for the transaction.
After you have added the details of the transaction, you will be taken to the "Submit Transaction" screen. Here, you will need to confirm your transaction. You will also need to enter the payment method that you are using for the transaction.
After you have confirmed your transaction, you will be taken to the "My Transactions" screen. Here, you will see all of the transactions that are available to you. You can also see the latest transactions for each wallet.

How to Secure Your Trust Wallet
There are a few ways to secure your trust wallet. The first is to keep your wallet encrypted. This means that your private keys are not stored on your device, but instead are kept securely in the cloud. This is the most secure option because it eliminates the risk of your private keys being stolen.
Another way to secure your trust wallet is to use a hardware wallet. These wallets are specially designed to store your private keys offline, which makes them extremely secure. They are also easy to use, so you can keep your coins safe without having to worrying about security every time you make a purchase.
How to Choose the Right Trust Wallet
There are a few things to consider when choosing a trust wallet. First, you will want to decide what type of trust you are creating. There are three types of trusts: charitable, business, and family. Once you have determined the type of trust, you will need to choose the right wallet for your trust.
Charitable Trust Wallets
If your trust is a charitable trust, you will need to choose a wallet that is specifically designed for charitable trusts. Some of the best wallets for charitable trusts include the Bountiful Trust and the Giving Tree Trust Wallet.
Business Trust Wallets
If your trust is a business trust, you will need to choose a wallet that is specifically designed for business trusts. Some of the best wallets for business trusts include the Grantmaker Trust Wallet and the Samanage Trust Wallet.
Family Trust Wallets
If your trust is a family trust, you will need to choose a wallet that is specifically designed for family trusts. Some of the best wallets for family trusts include the Family Trust Wallet and the Inheritance Trust Wallet.
How to Get Started with Trust Wallet
If you have not already, download the Trust Wallet app from the App Store or Google Play.
Once you have downloaded and installed the Trust Wallet app, open it and sign in with your email address and password.
Now, you will need to create a new account. To do this, click on the “Create Account” button on the main menu of the Trust Wallet app.
When you click on the “Create Account” button, you will be prompted to enter your name, email address, and password.
After you have entered your information, click on the “Create Account” button to create your new account.
Now that you have created your new Trust Wallet account, you will need to add some funds to it. To do this, click on the “Funds” button on the main menu of the Trust Wallet app.
When you click on the “Funds” button, you will be prompted to enter your bank account information. After you have entered your bank account information, click on the “Funds” button to add your funds to your Trust Wallet account.

How to Create a Trust Wallet
To create a trust wallet, you'll first need to create an account on the Trust Wallet website. Once you have an account, you can then generate a new trust wallet. To do this, first click on the "Generate New Trust Wallet" button on the main menu of the Trust Wallet website. This will take you to a new screen where you can enter some basic information about your trust wallet. Next, you'll need to generate a public key and a private key. You can generate these keys by clicking on the "Generate Keys" button on the main menu of the Trust Wallet website. Once you have generated your keys, you'll need to save them to a safe location. You can then copy and paste your public key and private key into the "Public Key" and "Private Key" fields of the "Trust Wallet Settings" screen of your account on the Trust Wallet website. Finally, you'll need to set a password for your trust wallet. You can do this by clicking on the "Password" button on the main menu of the Trust Wallet website. Once you have set your password, you're ready to create your trust wallet.
How to Use a Trust Wallet
To use a trust wallet, you first need to create an account on the trust website. Once you have created your account, you can then access your trust wallet.
To access your trust wallet, you first need to sign in to your trust account. After you have logged in, you will be able to see all of the transactions that have been made on your trust wallet. You can also view the balance of your trust wallet and view the transactions that are currently waiting to be confirmed.
How to Protect Your Trust Wallet
There are a few ways to protect your Trust Wallet.
1. Use a strong password: Keep your password as complex as possible and make sure it is not easily guessable.
2. Don't share your password with anyone: Keep your password private and don't share it with anyone.
3. Use two-factor authentication: This will add an extra layer of security to your account.
4. Store your Trust Wallet offline: If you can't access your Trust Wallet online, make sure to store it offline so that it is protected from unauthorized access.