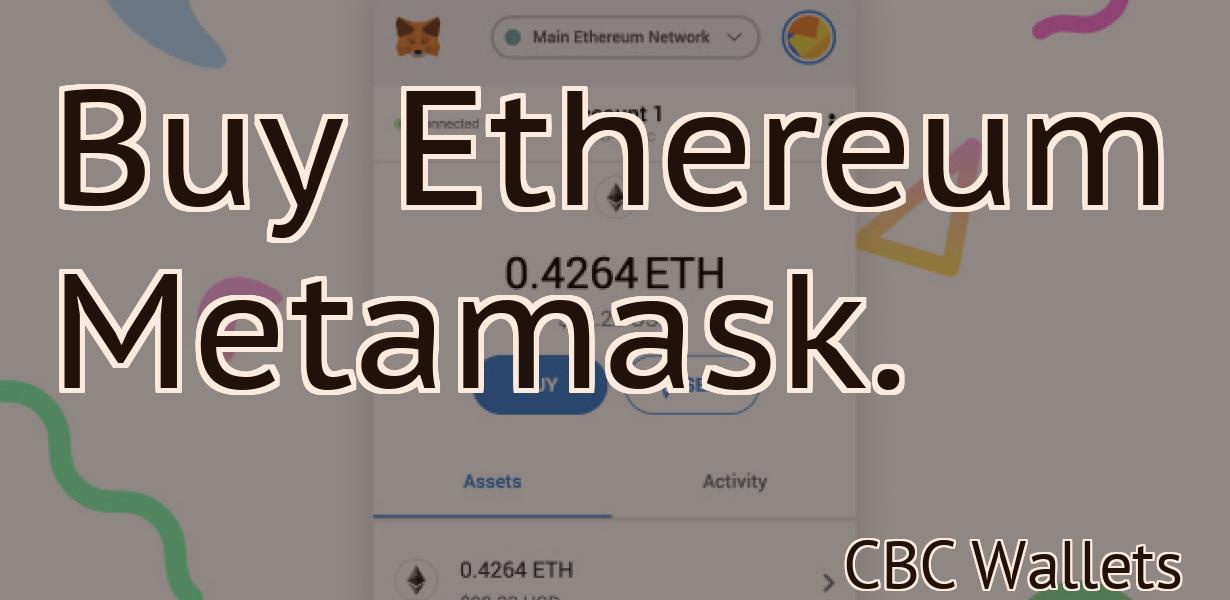
How to put Ethereum into Metamask?
If you're looking to get started with Ethereum, one of the first things you'll need is a digital wallet. In this article, we'll show you how to set up a digital wallet using Metamask.
How to add Ethereum to your Metamask wallet
To add Ethereum to your Metamask wallet, open the Metamask app and click on the three lines in the top left corner. On the next page, you will see a list of wallets. Click on the Add Wallet button and select Ethereum from the list of supported cryptocurrencies.
Next, enter your Metamask wallet address and click on the Next button. You will be asked to confirm your addition. After you have added Ethereum to your Metamask wallet, you can start using it to buy tokens on exchanges.
How to store Ethereum in your Metamask wallet
Ethereum can be stored in your Metamask wallet by first clicking on the three lines in the top right corner and then clicking on the "Storage" tab. You will then be able to see your Ethereum balance and transactions. To store Ethereum, you will first need to add a token to your Metamask wallet. To do this, click on the three lines in the top right corner and then click on the "Add Token" button. You will then be able to select the Ethereum token from the list and add it to your Metamask wallet.
How to send Ethereum from your Metamask wallet
1. In Metamask, click the three lines in the top right corner of the app.
2. Select "Send ETH."
3. Enter the amount you want to send in ETH and press "send."
How to receive Ethereum in your Metamask wallet
1. Open Metamask and click on the three lines in the top right corner.
2. Click on "Add Wallet."
3. Select Ethereum and click on "Create New Wallet."
4. Enter your Metamask wallet address and click on "Create Account."
5. Click on the "Gas Limit" field and set the gas limit to 2000 ETH.
6. Click on "Save" and you're done!
How to use Metamask with an Ethereum wallet
1. Open your Ethereum wallet and click on the "Metamask" icon.
2. Metamask will open a new window. In this window, you will need to input your Metamask account password.
3. Once you have inputted your password, click on the "Create a new token" button.
4. In the "Token name" field, type in "Ethereum".
5. In the "Token symbol" field, type in "ETH".
6. In the "Decimals" field, type in 18.
7. In the "Total supply" field, type in 1000000.
8. In the "Issuer" field, type in "0x12345678".
9. In the "Token distribution" field, type in "Ethereum Holder".
10. Click on the "Create" button.
11. Metamask will now show you the "Token contract" window. You will need to copy and paste the following code into this window.
contract Etheroll { function roll(uint _startBlock, uint _stopBlock) public returns (uint); }
12. Click on the "Save" button.
13. Metamask will now display the "Contract deployed" window. You will need to click on the "Access Token" button and input your Metamask account credentials.
14. Once you have inputted your credentials, Metamask will show you the " displaying Etheroll tokens " window. You will now be able to transfer your Etheroll tokens to your Ethereum wallet.
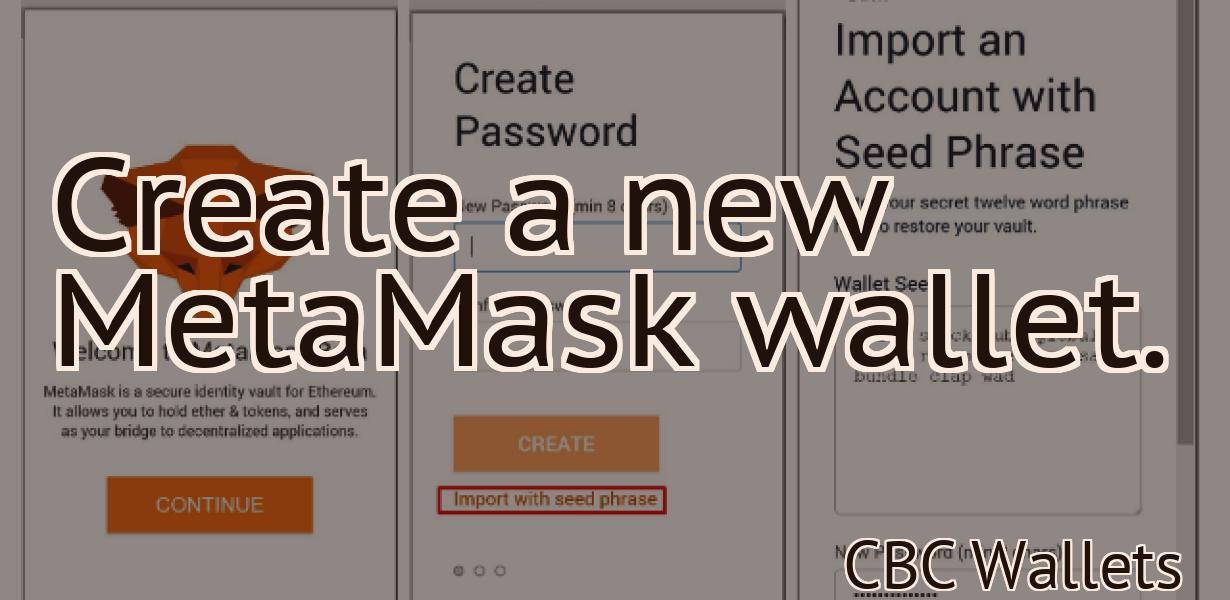
How to create an Ethereum wallet with Metamask
First, open the Metamask website and click on the "Create New Wallet" button.
Next, enter a strong password and click on the "Create New Wallet" button.
After you create your wallet, click on the "Metamask" tab and click on the "Create New Account" button.
Now, enter your name, email address, and password. Click on the "Create Account" button.
After you create your account, you will be taken to the "Metamask Account Settings" page. Under the "Core" tab, click on the "Enable Ethereum Wallet" button.
Now, you will be asked to add a secure password for your account. Type in your secure password and click on the "Confirm" button.
Now, you will be taken to the "Metamask Account Settings" page. Under the "Keystore File" tab, click on the "Download Keystore File" button and save the file to your computer.
Next, open the file you saved and click on the "Scan QR Code" button to add the keystore file to Metamask.
After you add the keystore file, click on the "Metamask" tab and click on the "Start Ethereum Wallet" button.
You will now be taken to the "Ethereum Wallet Launch Page." Click on the "Connect Your Account" button.
After you connect your account, you will be taken to the "Ethereum Wallet Login Page." Click on the "Login With Metamask" button.
After you log in, you will be taken to the "Ethereum Wallet Main Page." You can now start sending and receiving Ethereum transactions.
How to import an Ethereum wallet into Metamask
Metamask is a browser extension that allows you to access your Ethereum and ERC20 tokens. To import an Ethereum wallet into Metamask, follow these steps:
1. Open Metamask and click on the three lines in the top left corner.
2. Select Accounts and then click on Add Account.
3. In the Add Account dialog, enter the Ethereum address of your wallet and click on Next.
4. In the Add Account dialog, select My ERC20 Tokens and click on Next.
5. In the My ERC20 Tokens dialog, select the tokens you would like to add to your Metamask account and click on Import.
6. Metamask will now sync the Ethereum addresses associated with the selected tokens and display them in the My ERC20 Tokens section.
How to export an Ethereum wallet from Metamask
1. Open Metamask and click on the "Ethereum Wallet" button.
2. On the Ethereum Wallet page, click on the "Export Private Key" button.
3. In the "Private Key Format" field, select "JSON".
4. In the "File Name" field, type a name for your exported Ethereum wallet.
5. Click on the "Export" button to save your private key.