Configure the BNB network in Metamask.
The article provides step-by-step instructions on how to configure the BNB network in Metamask. It explains how to add the BNB network to Metamask and how to set it up so that you can use it to send and receive BNB tokens.
Configuring your BNB network in Metamask
To configure your BNB network in Metamask, open the Metamask extension and click on the "BNB" button in the top right.
Next, you will need to input the address of your BNB instance. You can find this information by visiting the BNB website and inputting the public address of your BNB instance.
After inputting the address, you will need to input the port number of your BNB instance. You can find this information by visiting the BNB website and inputting the port number of your BNB instance.
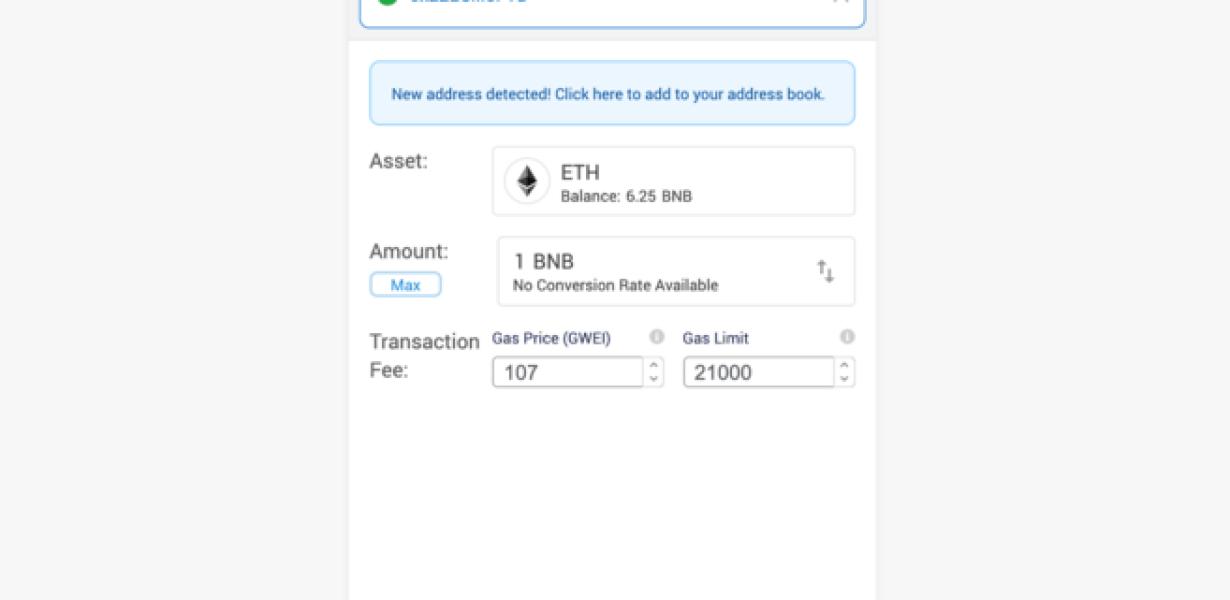
Next, you will need to input the Gas price for your BNB instance. You can find this information by visiting the BNB website and inputting the gas price of your BNB instance.
After inputting the Gas price, you will need to input the amount of BNB you want to purchase. You can find this information by visiting the BNB website and inputting the amount of BNB you want to purchase.
Finally, you will need to input the password for your BNB account. You can find this information by visiting the BNB website and inputting the password for your BNB account.
Setting up your BNB network in Metamask
To set up your BNB network in Metamask, you will first need to create a new account and install the Metamask extension.
Once you have installed the Metamask extension, you will need to open it and click on the "Add Account" button.
From the "Add Account" screen, you will need to select the "BNB" option and then enter your BNB account details.
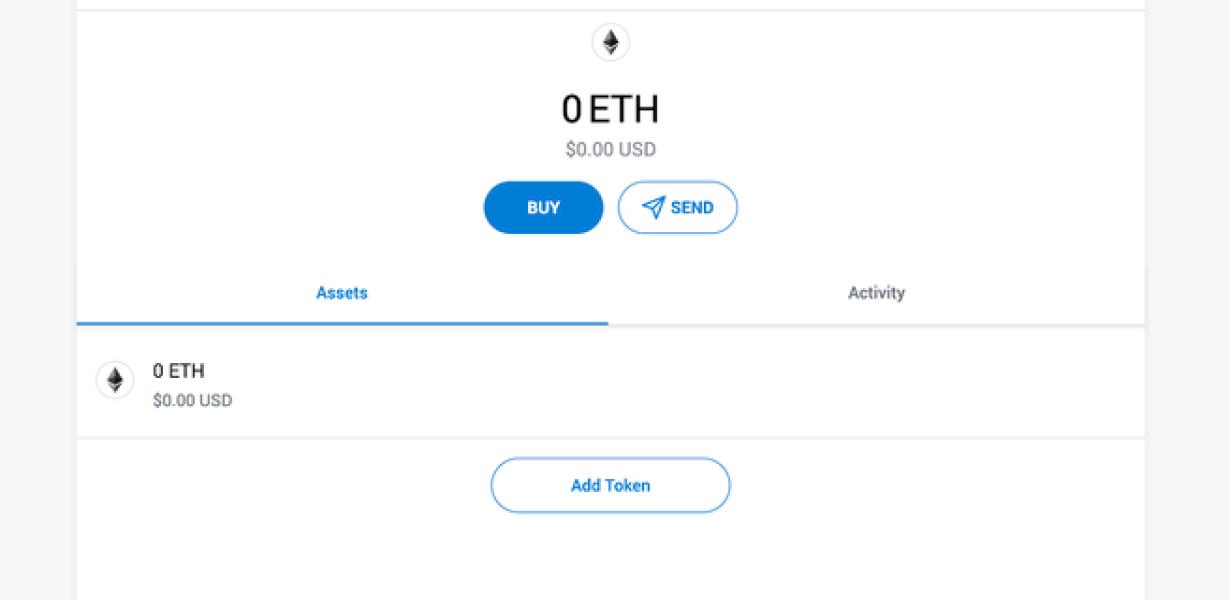
Once you have entered your details, Metamask will display your BNB balance and transaction history.
To set up your BNB network in Metamask, you will first need to create a new account and install the Metamask extension.
Once you have installed the Metamask extension, you will need to open it and click on the "Add Account" button.
From the "Add Account" screen, you will need to select the "BNB" option and then enter your BNB account details.
Once you have entered your details, Metamask will display your BNB balance and transaction history.
How to configure your BNB network in Metamask
1. In Metamask, click on the "Nodes" tab.
2. On the "Nodes" tab, you will see a list of all the BNB nodes in your network.
3. Click on the "Add Node" button next to the BNB node you wish to configure.
4. On the "Add Node" window, you will need to provide the following information:
- BNB node address: This is the IP address or hostname of the BNB node you wish to configure.
- Metamask account: This is your Metamask account credentials.
- Node Type: This can be either "Node Web3" or "Node Testnet".
- Contract Address: This is the address of the BNB contract you wish to use.
- Gas Price: This is the gas price you want to use for your node.
5. Click on the "Create" button to finish adding the node to your network.
6. You will now need to configure your node to connect to the BNB network. To do this, open the "Settings" menu on your BNB node and click on "Connect".
7. On the "Connect" window, you will need to enter the following information:
- Node Web3 Address: This is the address of your node's web3 server.
- Metamask Account: This is your Metamask account credentials.
- Contract Address: This is the address of the BNB contract you wish to use.
- Gas Price: This is the gas price you want to use for your node.
8. Click on the "Connect" button to finish setting up your node.
Get the most out of Metamask by configuring your BNB network
Metamask is a Chrome extension that allows users to interact with the Binance Chain and its associated tokens. By configuring your network settings and using Metamask correctly, you can maximize your experience of the Binance platform.
To begin, open Metamask and click on the three lines in the top right corner. From here, you can configure your network settings.
1. Select your location
If you're using a computer, you can select your location from the list. If you're using Metamask on a mobile device, you'll need to manually input your location.
2. Enable 2-factor authentication
If you haven't already done so, you'll need to enable 2-factor authentication on your account. To do this, click on the button next to the words "Enable 2-factor authentication." This will take you to a page where you can enter your authentication code.
3. Enable Binance Chain access
If you want to use all of the features of the Binance Chain, you'll need to enable access. To do this, click on the button next to the words "Enable Binance Chain access." This will take you to a page where you can enter your personal identification number (PIN) and password.
4. Enable Metamask extension access
If you want to use Metamask's various features, such as trading and depositing tokens, you'll need to enable access. To do this, click on the button next to the words "Enable Metamask extension access." This will take you to a page where you can enter your Metamask extension username and password.
5. Confirm your settings
Once you've completed your configuration, click on the button below the "Settings" section to confirm your settings. This will take you back to the main Metamask page.
Metamask - Configuring your BNB network for success
When you first sign up for Binance, you are prompted to create a new account. After you have created your account, you will be prompted to set up a new password. Next, you will need to set up your Metamask account.
To set up your Metamask account:
1. Open the Metamask app and click on the three lines in the top right corner.
2. In the "Metamask" section, click on "Create a new account."
3. In the "Create a new account" dialog, enter your desired username and password.
4. Click on "Create an account" to finish setting up your Metamask account.
5. You will now be able to see all of your ERC-20 tokens in the "Token Balances" section of your Metamask account.
6. To add a new ERC-20 token to your Metamask account:
1. In the "Token Balances" section, click on the "Add token" button.
2. In the "Add token" dialog, enter the following information:
a. The name of the ERC-20 token you wish to add to your Metamask account.
b. The address of the token contract (used to store the token data).
c. The total supply of tokens of this ERC-20 token.
3. Click on "Add token."
4. You will now see the newly added ERC-20 token in the "Token Balances" section of your Metamask account.
Configure your BNB network in Metamask for optimal performance
To configure your BNB network for optimal performance, follow these steps:
1. Open Metamask.
2. Click on the "network" button in the upper left-hand corner of the Metamask window.
3. In the "Network settings" section, click on the "Configure network" button.
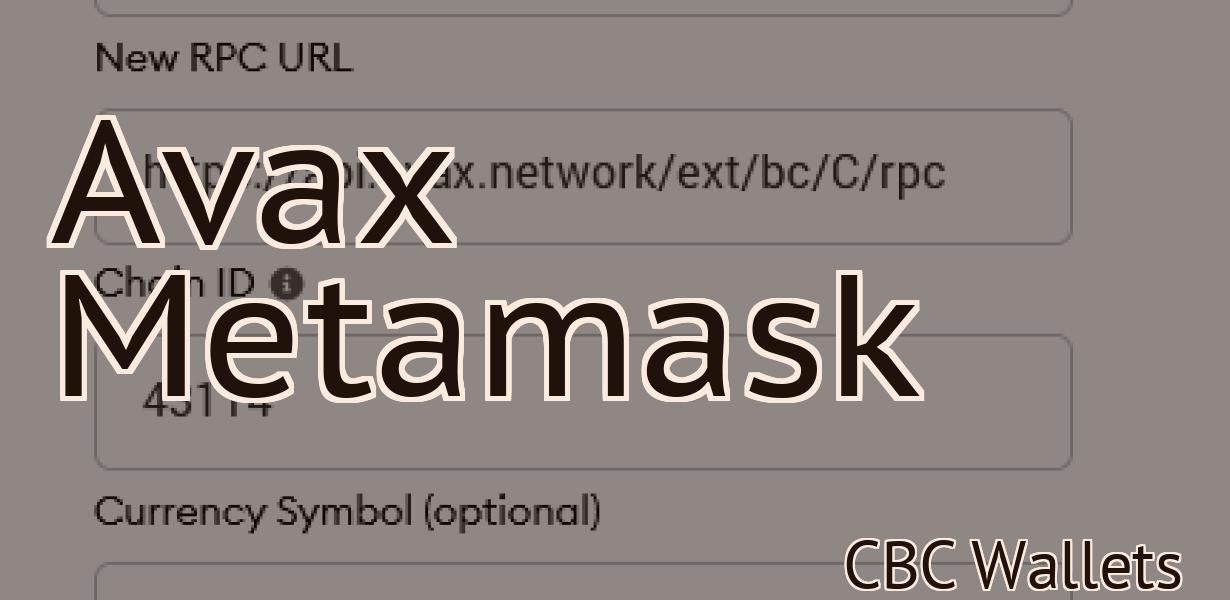
4. On the "Configure network" page, you will need to provide the following information:
- The BNB network address: This is the unique address that your BNB will use to communicate with other nodes on the BNB network. You can find this address by clicking on the "View network info" button on your BNB's home screen and looking for the "Networking info" section.
- The BNB peer-to-peer port: This is the port on which your BNB will be listening for peer connections. You can find this port by clicking on the "View network info" button on your BNB's home screen and looking for the "Networking info" section.
- The BNB network password: This is the password that you will need to access your BNB's configuration pages. You can find this password by clicking on the "View network info" button on your BNB's home screen and looking for the "Networking info" section.
5. In the "Configure network" page, you will also need to specify how many nodes you want to connect to your BNB network. To do this, click on the "Add node" button and enter the node's IP address, port number, and password. After you have added a node to your BNB network, you will need to repeat these steps for every additional node that you want to connect to the network.
6. Once you have completed these steps, click on the "Save" button to save your changes.
Maximizing Metamask's potential with a BNB network configuration
In this article, we will explore how to maximize Metamask's potential with a Binance network configuration.
To begin, open the Metamask Chrome extension and click on the three lines in the top right corner ( ) to open the settings menu.
Under the "Settings" tab, click on "Advanced".
In the "Advanced settings" window, click on the "Network" tab.
Under the "Network" tab, you will see a list of networks. Binance is at the top of the list. Underneath Binance, you will see a list of networks that Metamask supports. Underneath those networks, you will see a list of addresses. The addresses that are in blue are the addresses that Metamask supports.
To use Metamask with a Binance network, you need to use an address that is on the Binance network. To find an address that is on the Binance network, click on the "Addresses" tab and search for an address that is not in blue. When you find an address, click on it and enter the information that is shown in the window that opens.
Configuring a BNB network in Metamask for beginners
To start using a Binance Chain network, first open Metamask and click on the three lines in the top right corner. Click on the "Settings" tab and then on the "Network" tab.
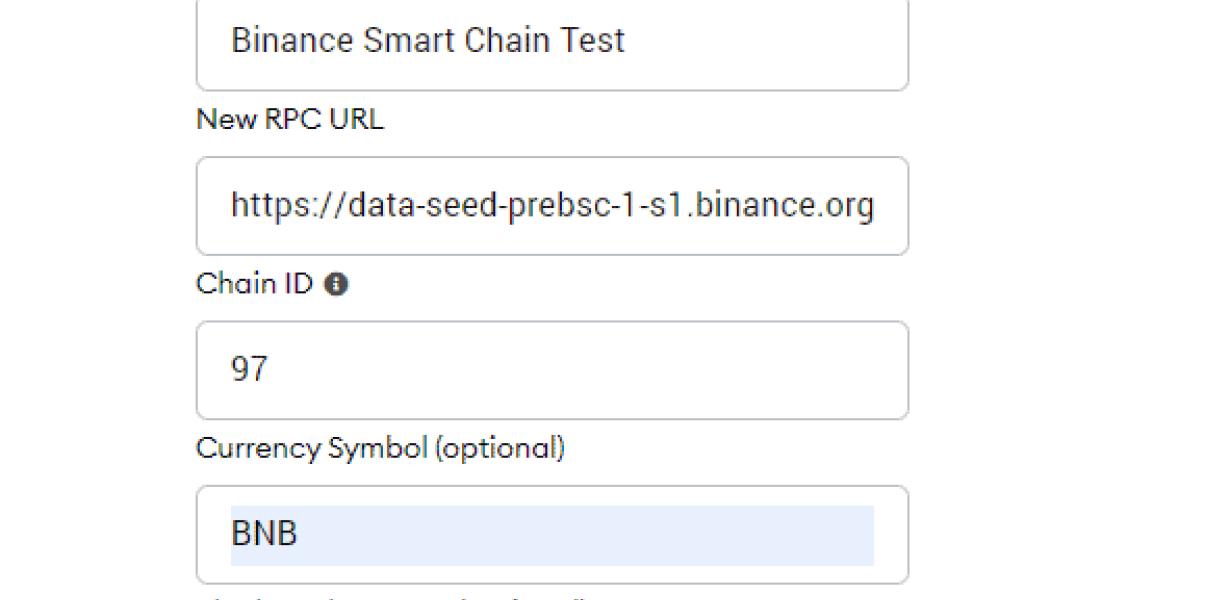
In the "Network settings" area, you will need to input the following information:
1. The address of the Binance Chain network you want to connect to.
2. Your Metamask login credentials.
3. Your Binance account ID.
4. Your Binance Chain network password.
5. The number of nodes you want to connect to. (You can connect to as many nodes as you like.)
6. The port number that your node is listening on. (For example: 3000.)
7. The Gas limit that your node is willing to use. (This is optional, and you can leave this field blank if you don't want to set a gas limit.)
8. The ticker symbol for your Binance Chain network. (For example: BNB.)
9. The language that you want to use in the network. (This is optional, and you can leave this field blank if you want to use the default language.)
10. The time zone that you are in. (This is optional, and you can leave this field blank if you want to use the default time zone.)
11. The Consensus algorithm that your node is using. (This is optional, and you can leave this field blank if you want to use the default consensus algorithm.)
12. The port that your node is using for communication with other nodes in the network. (If you are using a public node, this port will be open for everyone to use.)
13. The Gas price that your node is using. (This is optional, and you can leave this field blank if you want to use the default gas price.)
14. The fee percentage that your node is charging for transactions. (This is optional, and you can leave this field blank if you want to use the default fee percentage.)
15. The number of seconds that your node will wait before it blocks a transaction that has not been confirmed by other nodes in the network. (This is optional, and you can leave this field blank if you want your node to block transactions immediately.)
16. The number of seconds that your node will wait before it relays a transaction that has been confirmed by other nodes in the network. (This is optional, and you can leave this field blank if you want your node to relay transactions immediately.)
17. The weighting that your node will give to each block in the blockchain. (This is optional, and you can leave this field blank if you want your node to give equal weight to each block in the blockchain.)
18. The throttle percentage that your node will use when processing transactions. (This is optional, and you can leave this field blank if you want your node to use 100 percent of its processing power when processing transactions.)
19. The number of votes that your node will give to delegates in the event of a fork. (This is optional, and you can leave this field blank if you want your node to give no votes to delegates in the event of a fork.)
20. The delegate addresses that your node will vote for. (This is optional, and you can leave this field blank if you want your node to vote for all delegate addresses.)
21. The number of blocks that your node will keep stored from the most recent blockchain snapshot. (This is optional, and you can leave this field blank if you want your node to keep all blocks from the most recent blockchain snapshot.)
22. The number of blocks that your node will keep stored from the previous blockchain snapshot. (This is optional, and you can leave this field blank if you want your node to keep all blocks from the previous blockchain snapshot.)
23. The number of blocks that your node will keep stored from the block height that you specify. (This is optional, and you can leave this field blank if you want your node to keep all blocks from the block height that you specify.)
24. The number of blocks that your node will keep stored from the most recent block in the blockchain. (This is optional, and you can leave this field blank if you want your node to keep all blocks from the most recent block in the blockchain.)
25. The number of blocks that your node will keep stored from the previous block in the blockchain. (This is optional, and you can leave this field blank if you want your node to keep all blocks from the previous block in the blockchain.)
26. The number of blocks that your node will keep stored from the block height that you specify. (This is optional, and you can leave this field blank if you want your node to keep all blocks from the block height that you specify.)
27. The port number that your nodes will be using for communication with other nodes in the network. (If you are using a public node, this port will be open for everyone to use.)
How to set up a BNB network in Metamask
1. First, you'll need to create a new BNB account.
2. Once you've created your BNB account, open Metamask and click on the "BNB" button in the top left corner.
3. On the BNB page, you'll need to input your BNB account's address and secret key. You can find these details on your BNB account page.
4. Next, you'll need to add a deposit address. This is where you'll send your tokens to before they're available for use on the network.
5. Finally, you'll need to add an allowance. This is how much tokens you're allowed to spend each day.
Configuring a BNB network in Metamask - step by step guide
1. Add a BNB network to Metamask
To add a BNB network to Metamask, follow these steps:
1. In Metamask, click on the “Nodes” tab.
2. Click on the “+” button at the bottom of the Nodes screen.
3. Type “bnb” into the search bar at the top of the Nodes screen.
4. Select the BNB network you want to add from the list of networks that appears.
5. Click on the “Create” button.
6. Metamask will show you the configuration options for your new BNB network.
7. Select the desired settings for your network and click on the “Create” button.
8. Your new BNB network will now be available in Metamask.
The ultimate guide to configuring your BNB network in Metamask
There is no one-size-fits-all answer to this question, as the configuration of a BNB network will vary depending on your specific setup and preferences. However, here are some tips that may help you get started:
1. Choose a BNB provider
Before you can start configuring your BNB network, you'll need to choose a provider. There are a number of providers available, and each one offers different features and benefits.
2. set up an address
Once you've chosen a provider, you'll need to set up an address for your BNB. This address will be used to identify your BNB on the blockchain.
3. create a BNB wallet
Next, you'll need to create a BNB wallet. This wallet will be used to store your BNB tokens and manage your network settings.
4. set up network settings
Finally, you'll need to set up some network settings. These settings will determine how your BNB network functions and what nodes it can connect to.