Chrome Metamask
Chrome Metamask is a cryptocurrency wallet that allows users to store, send, and receive digital assets. It also allows users to interact with dapps and smart contracts on the Ethereum network.
How to Use MetaMask With Chrome
1. Open Chrome and click on the three lines in the top left corner of the browser window.
2. Click on the "More Tools" drop-down menu, and select "Settings."
3. In the "Settings" window, click on the "Advanced" link in the bottom left corner.
4. In the "Advanced" window, click on the "Security" tab.
5. In the "Security" tab, click on the "Certificates" button.
6. In the "Certificates" window, click on the "Add" button.
7. In the "Add" window, type "metamask" in the "hostname" field, and select the "Metamask" certificate from the "certificate list" window.
8. Click on the "Add" button to add the Metamask certificate to Chrome.
9. Click on the "OK" button to close the "Certificates" window.
10. Click on the "Back" button to return to the "Settings" window.
11. Click on the "Advanced" link in the bottom left corner of the "Settings" window, and select the "Privacy" tab.
12. In the "Privacy" tab, click on the "Clear browsing data" button.
13. Click on the "OK" button to close the "Privacy" window.
14. Click on the "Back" button to return to the main Chrome window.
15. Click on the "Metamask" icon in the right corner of the main Chrome window, and select the "Metamask" extension from the list of installed extensions.
16. Click on the "Configure" button in the "Metamask" extension window, and select the "Web proxy settings" option from the list of options.
17. In the "Web proxy settings" window, click on the "Use a web proxy" checkbox, and enter the details of yourproxy server in the "Proxy server" field.
18. Click on the "OK" button to close the "Web proxy settings" window.
19. Click on the "Metamask" icon in the right corner of the main Chrome window, and select the "Metamask" extension from the list of installed extensions.
20. In the "Metamask" extension window, click on the "Manage accounts" button.
21. In the "Manage accounts" window, click on the "Add account" button.
22. In the "Add account" window, type in your MetaMask account name, and select the "Metamask account" option from the list of options.
23. Click on the "Add account" button to add your MetaMask account to Chrome.
24. Click on the "Metamask" icon in the right corner of the main Chrome window, and select the "Metamask" extension from the list of installed extensions.
25. In the "Metamask" extension window, click on the "View transactions" button.
26. In the "View transactions" window, click on the "Transactions" tab.
27. In the "Transactions" tab, click on the "Show all transactions" button to view all of your MetaMask transactions.
MetaMask – The Ethereum Browser Extension You Didn't Know You Needed
With over 1 million active users, the Ethereum Browser Extension, or MetaMask, is a must-have for anyone who wants to stay up to date with the latest Ethereum news and developments.
MetaMask is a Chrome and Firefox extension that allows you to access your Ethereum wallet and dApps without leaving the browser. Simply install the extension and log in to your MetaMask account.
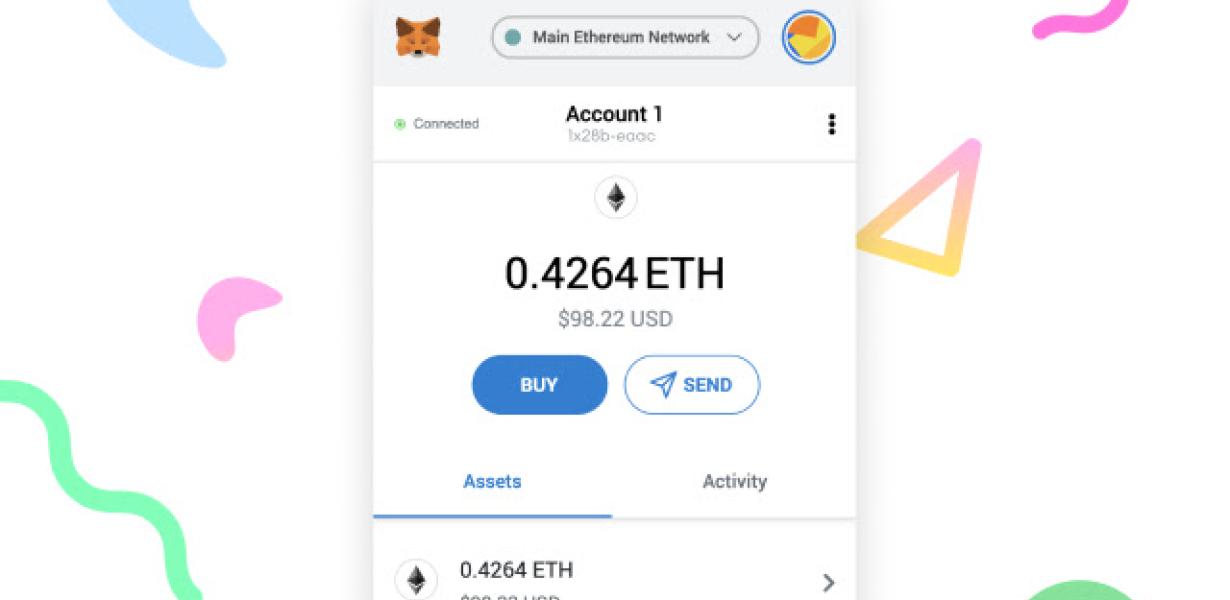
Once you have installed the extension, open it and click on the three lines in the top right corner. This will open the MetaMask wallet. In the wallet, you will see a list of addresses and a button that says "Send ETH."
To use MetaMask, first create a new Ethereum wallet. To do this, click on the "Create a new Ethereum wallet" button in the MetaMask wallet.
In the "New Ethereum Wallet" window, enter a name for your wallet and choose a secure password. Click on the "Create" button to create your new Ethereum wallet.
Once you have created your new Ethereum wallet, you can send ETH to it using the MetaMask wallet. To send ETH to your new Ethereum wallet, click on the "Send ETH" button in the MetaMask wallet.
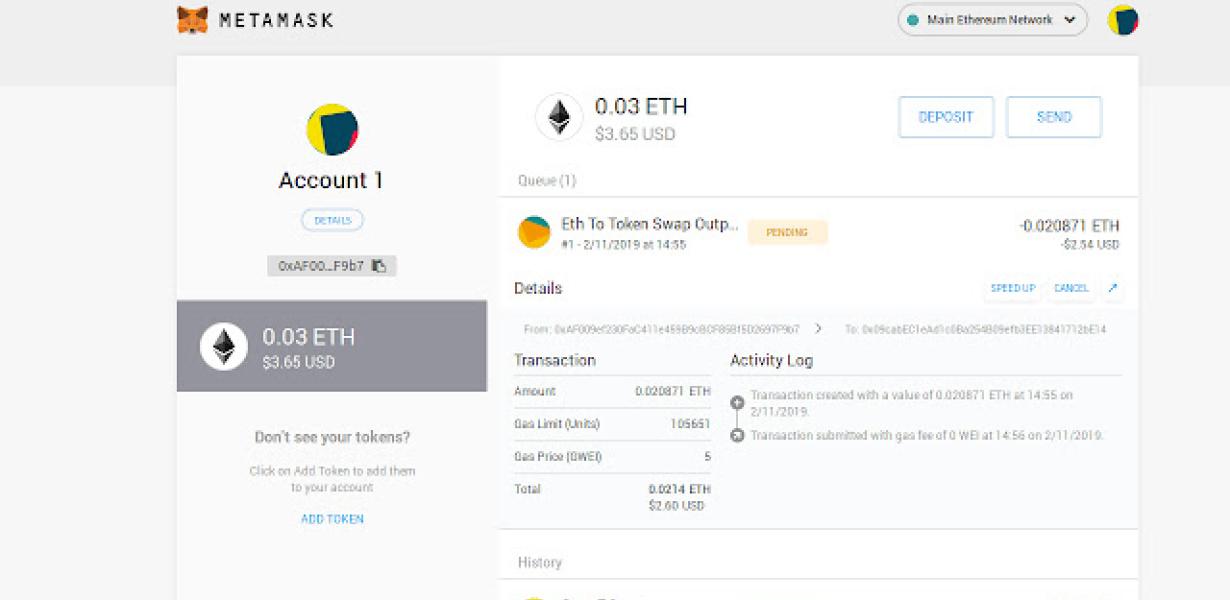
You can also use the MetaMask wallet to manage your Ethereum transactions. To do this, click on the "View transactions" button in the MetaMask wallet.
MetaMask also allows you to access dApps on the Ethereum network. To do this, click on the "Access dApps" button in the MetaMask wallet.
The MetaMask extension is a great way to stay up to date with the latest Ethereum news and developments. It is also a great way to access your Ethereum wallet and dApps without leaving the browser.
How To Install & Use MetaMask [Complete Guide]
MetaMask is a Chrome extension that allows you to interact with the Ethereum network.
1. Install MetaMask.
To install MetaMask, open Chrome and click on the “Chrome Web Store” icon ( ).
Next, search for and click on the “MetaMask” extension.
Once installed, you will be able to access the MetaMask extension from the Chrome extensions menu.
2. Create a new Ethereum account.
First, you will need to create an Ethereum account. To do this, open MetaMask and click on the “Create a New Account” button.
You will then be asked to enter your name, email address, and password.
3. Add a payment method.
Once you have created your account, you will need to add a payment method. To do this, click on the “Add Payment Method” button and select one of the available options.
4. Verify your account.
To verify your account, you will need to provide your name, email address, and password.
5. Connect to the Ethereum network.
Now that you have created your account and verified it, you are ready to connect to the Ethereum network. To do this, click on the “Connect” button and enter your Ethereum address.
6. Send & receive Ethereum transactions.
Now that you are connected to the Ethereum network, you can start sending and receiving transactions. To do this, click on the “Send” and “Receive” buttons and enter the details of your transaction.
7. Use MetaMask to manage your Ethereum portfolio.
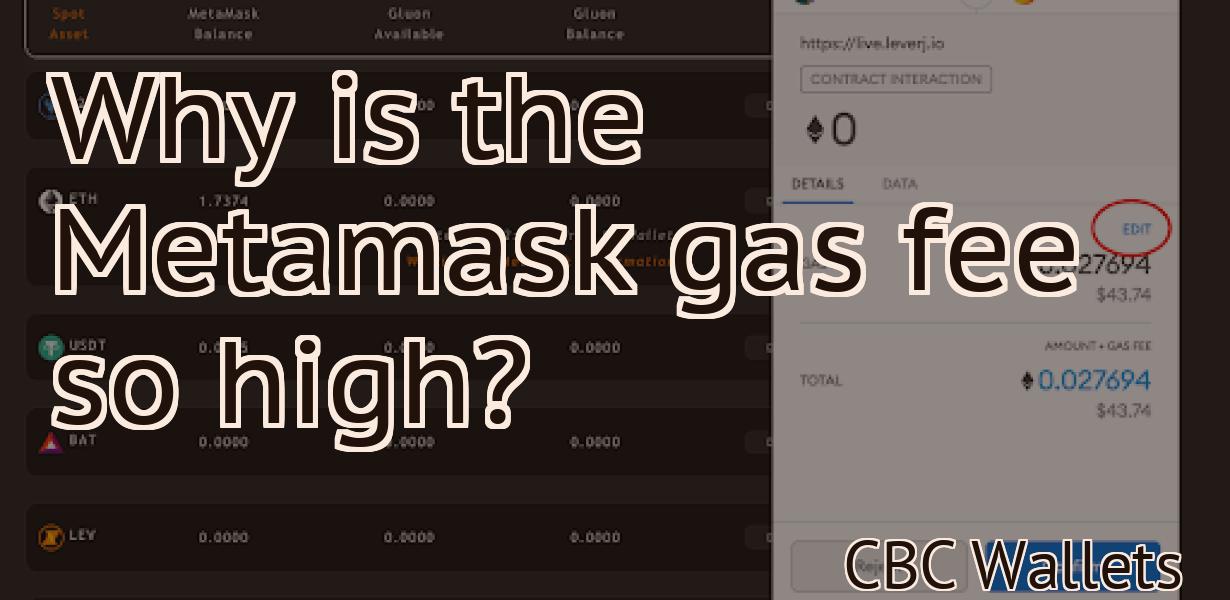
One of the great features of MetaMask is its ability to manage your Ethereum portfolio. To do this, click on the “Eth Gas Price” button and enter the amount of eth gas that you want to spend.
8. Use MetaMask to buy & sell Ethereum tokens.
One of the great features of MetaMask is its ability to buy and sell Ethereum tokens. To do this, click on the “Token Exchange” button and select the token that you want to buy or sell.
9. Use MetaMask to vote on Ethereum related decisions.
One of the great features of MetaMask is its ability to vote on Ethereum related decisions. To do this, click on the “Eth Gas Price” button and enter the amount of eth gas that you want to spend.
10. Use MetaMask to access your Ethereum wallet.
One of the great features of MetaMask is its ability to access your Ethereum wallet. To do this, click on the “Wallet” button and select the wallet that you want to access.
How to Use MetaMask to Safely Send Ether
MetaMask is a web browser extension that enables users to send and receive ether, the native cryptocurrency of the Ethereum network.
To send ether, open MetaMask and navigate to the "Send Ether" tab. Enter the recipient's address, amount of ether to send, and Gas limit (if applicable). Click "Generate Transaction" to send the ether.
To receive ether, open MetaMask and navigate to the "Receive" tab. Enter the sender's address, amount of ether to receive, and Gas limit (if applicable). Click "Send Transaction" to send the ether.
How to use MetaMask with MyEtherWallet
1. Open MyEtherWallet and click on the "Add Custom Token" button.
2. On the "Add Custom Token" page, enter the following information:
Token name: MetaMask
Token symbol: MEA
Decimals: 18
3. On the "Token Contract Address" page, copy the contract address.
4. On the "Token Contract Balance" page, copy the contract balance.
5. On the "Token Transfer History" page, copy the transfer history.
6. On the "MyEtherWallet" page, select the MetaMask tab.
7. Select the "Configure MetaMask" button.
8. On the "Configure MetaMask" page, paste the contract address, contract balance, and transfer history into the appropriate fields.
9. Click on the "Configure" button.
10. On the "Configure MetaMask" page, set the password and confirm the password.
11. Click on the "OK" button.
MetaMask Review – The Ethereum Wallet for Chrome
Ethereum is a decentralised platform that allows users to run smart contracts. It also has its own cryptocurrency – Ether.
Like many other cryptocurrencies, Ethereum is a digital asset. This means that you can use it to purchase goods and services.
One of the most popular ways to use Ethereum is as a digital wallet. This allows you to store your Ether and use it to pay for goods and services.
One of the best Ethereum wallets is the Chrome extension MetaMask. MetaMask is a Chrome extension that allows you to use Ethereum.
You can use MetaMask to store your Ether and use it to pay for goods and services. You can also use it to access your Ethereum wallet from anywhere.
MetaMask is one of the most popular Ethereum wallets. It is easy to use and has a wide range of features.
MetaMask: How to Install and Use This Crypto Wallet
There are several ways to install the MetaMask wallet.
1. Click on the link below and go to the MetaMask website.
2. Click on the “Download” button and download the MetaMask wallet.
3. Open the downloaded file and click on the “Install” button.
4. After the installation is complete, click on the “Create New Account” button to create a new account.
5. Enter your personal details and click on the “Create Account” button.
6. After you have created your account, you will be taken to the main MetaMask screen.
7. Click on the “Connect” button to connect to your MetaMask account.
How to store ERC20 tokens in MetaMask
To store ERC20 tokens in MetaMask, open the MetaMask app and click on the "Add Custom Token" button.
On the "Add Custom Token" window, enter the following information:
Name: ERC20
Token Symbol:
Decimals: 18
Click on the "Create token" button to create your ERC20 token.
Now you can send and receive ERC20 tokens with the MetaMask app.
Using MetaMask to buy Ethereum
1. Open MetaMask and click on the "Add Custom Token" icon
2. Enter the following information into the "Token Symbol" box:
3. In the "Token Name" box, type "Ethereum"
4. In the "Decimal Places" box, type 18
5. In the "Total Supply" box, type 210,000,000
6. In the "Price" box, type 0.025 ETH
7. Click the "Create" button
8. MetaMask will now show your newly created Ethereum token. Copy the token address and store it in a safe place for later use.
9. To buy Ethereum using MetaMask, open the MetaMask wallet and click on the "Send Ether & Tokens" button. Paste your Ethereum address into the "To Address" box and click on the "Send Ether & Tokens" button. Your Ethereum will be sent to your MetaMask wallet.